10 Easy Christmas Ornaments: Free Crochet Patterns
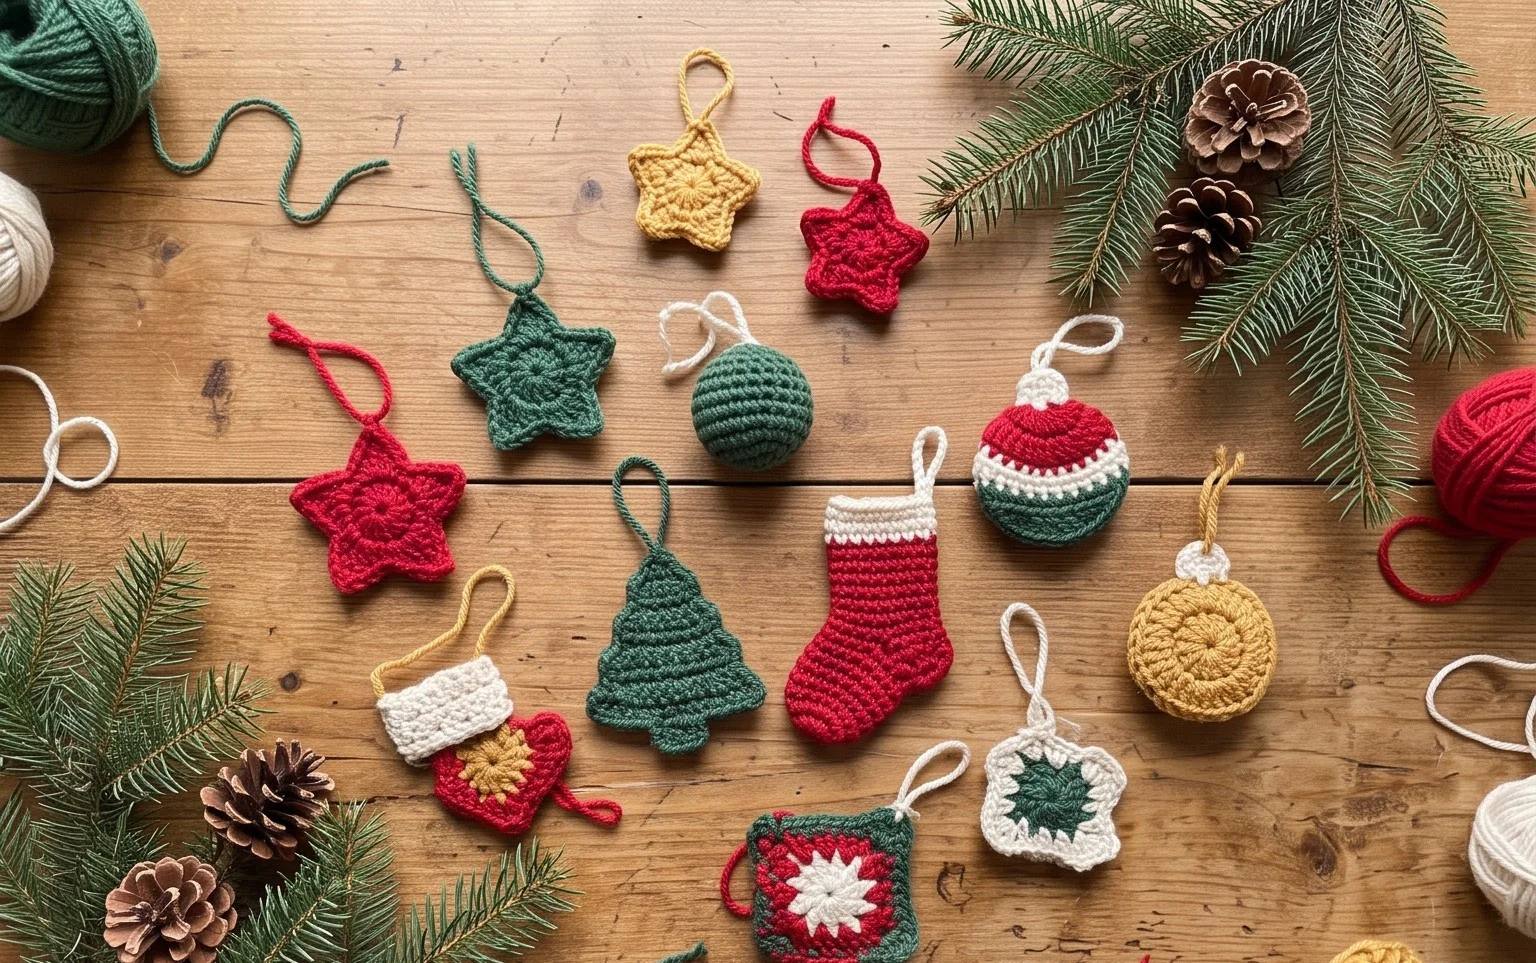
A handmade ornament creates a specific, nostalgic warmth on a tree that store-bought plastic spheres simply cannot replicate. These soft, stuffed decorations feel solid in the hand yet maintain a lightweight drape that keeps tree branches from sagging during the holidays. Beginners will find comfort in the repetitive, rhythmic nature of the half double crochet stitch, while seasoned makers can enjoy a quick project that clears out leftover yarn bins in under two hours. You will learn the technique for cinching a flat fabric rectangle into a structural globe, resulting in a clean, professional finish every single time.
Why You’ll Love This Pattern
This classic crochet pumpkin pattern relies on a simple repeating row of half double crochet stitches, making it an ideal project for those who enjoy meditative, rhythmic stitching. Because the pumpkin is constructed as a flat rectangle before being cinched into a sphere, you can easily adjust the height or width to create an entire patch of varying sizes. It is also a practical scrap-yarn project, as a single medium-sized pumpkin uses less than 100 yards of worsted weight yarn. You can complete an entire pumpkin in under two hours, which makes it a reliable choice for last-minute gifts or seasonal market inventory.
I loved how quickly this project worked up. The instructions for closing the top and bottom were clear and resulted in a very professional, neat finish without any bunching.
— Sarah, hobbyist crocheter
Pattern Overview & Skill Level
- Skill Level: Beginner
- Approximate Time: 1 to 2 hours per pumpkin
- Construction: Worked in flat rows to form a rectangle, then seamed and cinched to create a 3D sphere
- Finished Dimensions: Approximately 5 inches wide by 4 inches tall
Materials & Supplies Needed
- Yarn: Worsted weight (#4), acrylic or wool blend, approximately 80 yards for the main color and 10 yards of brown for the stem.
- Hook Size: 5.0 mm (H-8) crochet hook.
- Notions: Tapestry needle, stitch markers, fiberfill stuffing, and a cinnamon stick or brown yarn for the stem.
- Safe yarn substitutions: You may use bulky (#5) weight yarn to create a larger, chunkier pumpkin; simply reduce the starting chain length by 20% to account for the increased stitch height.
Stitch Guide & Abbreviations (US Terms)
- ch = chain
- hdc = half double crochet
- st = stitch
- sl st = slip stitch
- BLO = back loop only (insert hook under the back loop of the stitch only)
- RS = right side
- WS = wrong side
Step-by-Step Pattern Instructions
Pumpkin Body
- Row 1: Ch 30. Hdc in the 2nd ch from hook and in each ch across. Turn. (29 sts)
- Row 2: Ch 1, hdc in BLO of each st across. Turn. (29 sts)
- Rows 3-40: Repeat Row 2 until the piece measures approximately 10 inches long when slightly stretched.
- Finishing: Fasten off, leaving a 20-inch tail for seaming.
Assembly
- Fold the rectangle in half so the short ends meet.
- Use the long tail and a tapestry needle to join the short ends using a whip stitch through the BLO of the foundation chain and the back loop of the final row to create a tube.
- Weave the yarn through the edge of one opening of the tube, pulling tightly to close the hole securely. Knot the thread on the inside.
- Stuff the pumpkin firmly with fiberfill, ensuring the stuffing reaches the edges.
- Weave the yarn through the second opening of the tube, pulling tight to close. Leave the tail long enough to thread through the center of the pumpkin.
- Push the needle from the bottom center to the top center, pulling slightly to create a sunken effect in the middle of the pumpkin.
Stem
- Rnd 1: Using brown yarn, make a magic ring, 6 sc into the ring. (6 sts)
- Rnd 2-4: Sc in each st around. (6 sts)
- Finishing: Fasten off, leaving a tail for sewing. Attach to the top center of the pumpkin over the gathered hole.
Care & Washing Instructions
- Hand wash your finished pumpkin in cool water with a mild detergent to prevent the stuffing from shifting.
- Reshape the item while damp by gently squeezing it to its original circular form.
- Lay flat on a clean towel in a shaded area to air dry completely.
Pro Tips & Common Mistakes to Avoid
- Maintain even tension throughout the rows to ensure the rectangle has straight edges, which makes seaming much cleaner.
- Use a stitch marker at the end of every row to ensure you do not accidentally skip the last stitch, which would result in a tapered rather than rectangular shape.
- Weave in your beginning and ending tails by traveling them along the seam line for two inches before trimming to keep the interior secure.
- Adjust the size by adding more rows to the width if you want a wider pumpkin or by starting with a longer chain if you want a taller pumpkin; note that increasing the size will require more fiberfill.
Frequently Asked Questions
Can I use cotton yarn for this pattern?
Yes, cotton yarn works well, but it is less stretchy than acrylic. You may find that your pumpkin looks more structured and less “squishy” compared to wool or acrylic blends.
Is this project suitable for absolute beginners?
Yes, this is an excellent first project because it relies on the half double crochet stitch and requires no complex shaping or counting beyond basic rows.
How do I adjust the size of the pumpkin?
To make a larger pumpkin, increase the number of foundation chains. To make a wider pumpkin, continue working rows until the rectangle is longer before seaming.
Can I sell the pumpkins I make from this pattern?
You are welcome to sell finished items made from this design. I appreciate a link back to the original pattern page in your product description.
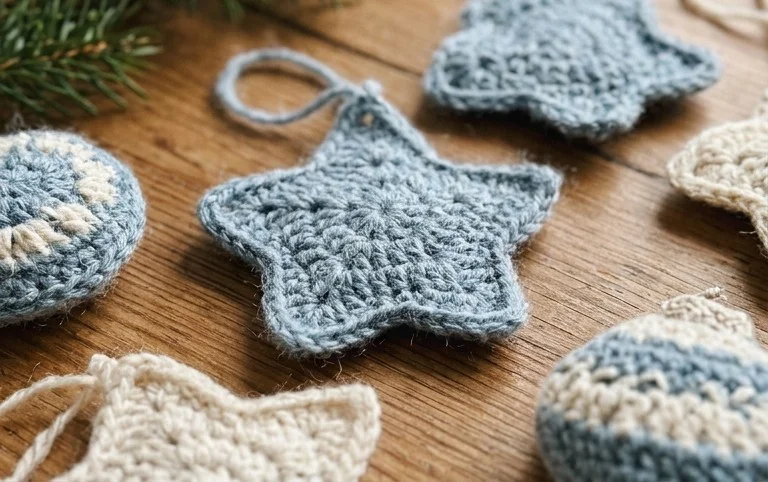
Your finished ornament adds a soft, handmade touch to your holiday greenery that feels both personal and polished. Try working your next one in a deep velvet yarn or metallic thread to change the texture entirely for a different look. Sharing a photo of your work on social media helps other makers find inspiration for their own seasonal projects. Visit the rest of our blog archives to discover more free crochet patterns that build on these basic techniques for your home decor.