6 Fast Christmas Crochet Patterns: Easy Gift Ideas
Soft cotton yarn loops create these small handmade ornaments that feel sturdy yet lightweight in your palm. Making gifts by hand adds a personal warmth to your holiday season that store-bought items often lack, especially when time is limited. Beginners will find these projects rewarding because they require only basic stitches and common materials like a standard crochet hook. You will learn to manage tension while working in tight circles to keep your stuffing secure. These tiny treasures suit any desk, shelf, or tree branch perfectly. You gain a sense of accomplishment by finishing a thoughtful present in just one afternoon.
Why You’ll Love This Pattern
This beginner-friendly amigurumi mushroom is a fast project that works up in under two hours. Because it uses less than 20 yards of yarn per mushroom, it serves as an excellent way to use up small bits of leftover worsted weight acrylic or cotton from larger projects. The design features a rounded, friendly silhouette that makes it an ideal addition to nursery decor or a small gift for a coworker. Since the construction relies on simple continuous rounds and basic increases, you can focus on building your confidence with shaping and stuffing techniques without navigating complicated color changes or textures.
I managed to whip up three of these in a single afternoon for a craft fair. The pattern is very easy to follow and the finished size is just right for a desk ornament.
— Sarah, amigurumi maker
Pattern Overview & Skill Level
- Skill Level: Beginner
- Approximate Time: 1 to 2 hours
- Construction: Amigurumi method, worked in continuous rounds starting with a magic ring
- Finished Dimensions: Approximately 3 inches tall and 3 inches wide at the cap
Materials & Supplies Needed
- Yarn: Worsted weight (#4), 100% cotton or acrylic blend, approximately 10 yards for the cap (red) and 5 yards for the stem (white).
- Hook Size: 3.5 mm (E-4) for a tight stitch that prevents stuffing from showing through.
- Notions: Tapestry needle, stitch markers, polyester fiberfill stuffing, scissors.
- Safe yarn substitutions: You may use DK weight yarn with a 3.0 mm hook for a smaller mushroom, or bulky weight yarn with a 5.0 mm hook for a larger plush. Note that size changes will require more or less stuffing and yarn.
Stitch Guide & Abbreviations (US Terms)
- MR: Magic Ring
- ch: Chain
- sc: Single crochet
- inc: Increase (work 2 sc into the same stitch)
- dec: Decrease (sc2tog, join two stitches into one)
- sl st: Slip stitch
- st/sts: Stitch/stitches
- BLO: Back loop only, used to create a flat edge on the underside of the mushroom cap.
Mushroom Stem
- Rnd 1: Work 6 sc into MR (6 sts).
- Rnd 2: Inc in each st around (12 sts).
- Rnd 3: (1 sc, inc) repeat 6 times (18 sts).
- Rnds 4-6: Sc in each st around (18 sts).
- Rnd 7: (1 sc, dec) repeat 6 times (12 sts).
- Rnds 8-10: Sc in each st around (12 sts).
Fasten off, leaving a long tail for sewing. Stuff the stem firmly with fiberfill.
Mushroom Cap
- Rnd 1: Work 6 sc into MR (6 sts).
- Rnd 2: Inc in each st around (12 sts).
- Rnd 3: (1 sc, inc) repeat 6 times (18 sts).
- Rnd 4: (2 sc, inc) repeat 6 times (24 sts).
- Rnd 5: (3 sc, inc) repeat 6 times (30 sts).
- Rnds 6-9: Sc in each st around (30 sts).
- Rnd 10: (3 sc, dec) repeat 6 times (24 sts).
- Rnd 11: Work in BLO: (2 sc, dec) repeat 6 times (18 sts).
Stuff the cap firmly before closing. Use the tapestry needle to weave the yarn tail through the front loops of the final round and pull tight to close the opening.
Assembly
Place the finished stem in the center of the underside of the cap. Use the yarn tail from the stem to whip stitch the stem securely to the bottom of the cap. Ensure the stitches catch both the edge of the stem and the BLO loops left on the cap to provide a secure hold. Weave in all remaining ends securely inside the body.
Care & Washing Instructions
- Hand wash in cool water using a gentle soap to prevent the fiberfill from clumping.
- Do not wring the mushroom; instead, gently press out excess water with a towel.
- Lay flat in a shaded area to air dry completely, reshaping the cap with your hands while damp.
Pro Tips & Common Mistakes to Avoid
- Maintain tight tension by keeping your yarn feed consistent; this prevents unsightly gaps between stitches where the white stuffing might poke through.
- Always place a stitch marker in the first stitch of every round to keep track of your progress and ensure your stitch counts remain accurate.
- Weave in your yarn tails by running the needle through the center of the stuffed body several times, then trim the excess yarn close to the surface to keep your work tidy.
- If you decide to make a larger mushroom, remember that doubling the stitch counts in each round will significantly increase the amount of yarn required, so ensure you have enough yardage in your skein before starting.
Frequently Asked Questions
Can I use a larger hook than the pattern suggests?
Yes, you can, but keep in mind that a larger hook creates larger gaps between stitches. If you notice stuffing showing through, reduce your hook size or work with a tighter yarn tension.
Is this project safe for small children?
While this project is soft, always ensure all ends are woven in securely and consider embroidering eyes if you add them, rather than using plastic safety eyes which can pose a choking hazard.
Am I allowed to sell the finished mushrooms?
Most designers allow the sale of items made from their patterns as long as you provide credit, but you should check the specific terms provided in the original pattern source before listing them for sale.
How do I change the size of the mushroom?
To make the mushroom larger, continue increasing the cap by adding rounds (e.g., 4 sc, inc) before working the straight rounds. You must then increase the number of stitches in your stem to match the width of the cap.
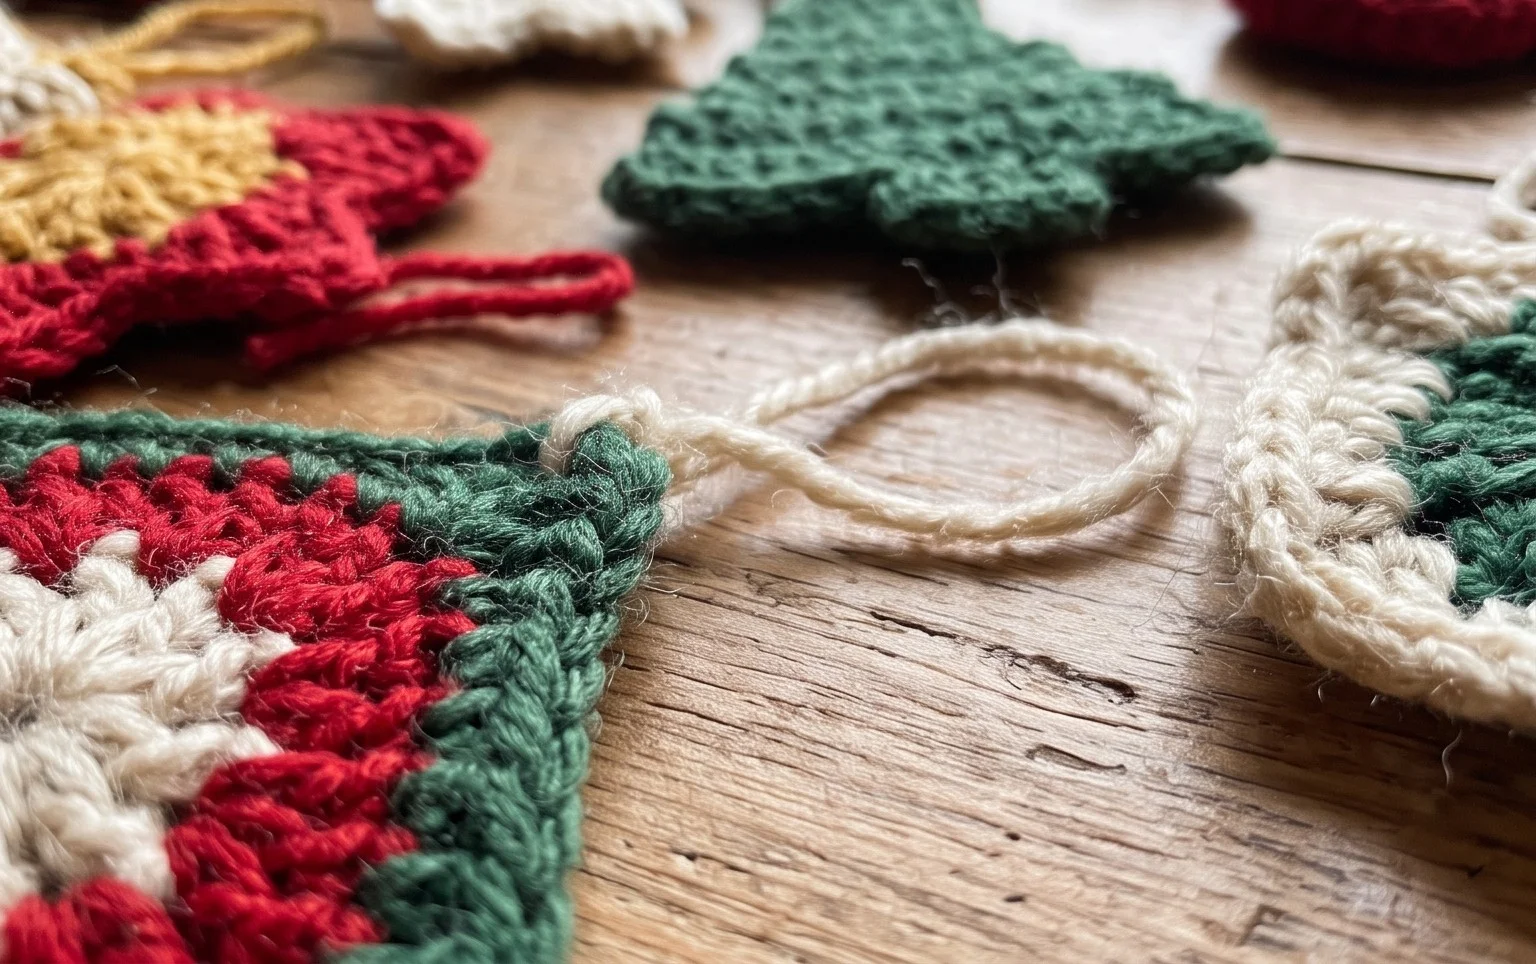
These completed ornaments have a satisfying weight that makes them feel like quality keepsakes rather than just scrap-yarn projects. You can adapt the look by using a metallic thread held alongside your primary yarn for a bit of extra holiday sparkle. Please share a photo of your finished work on your favorite social media platform so others can find inspiration. There are many more free patterns waiting on the blog whenever you feel ready to start your next creative project, so feel free to browse the archive.