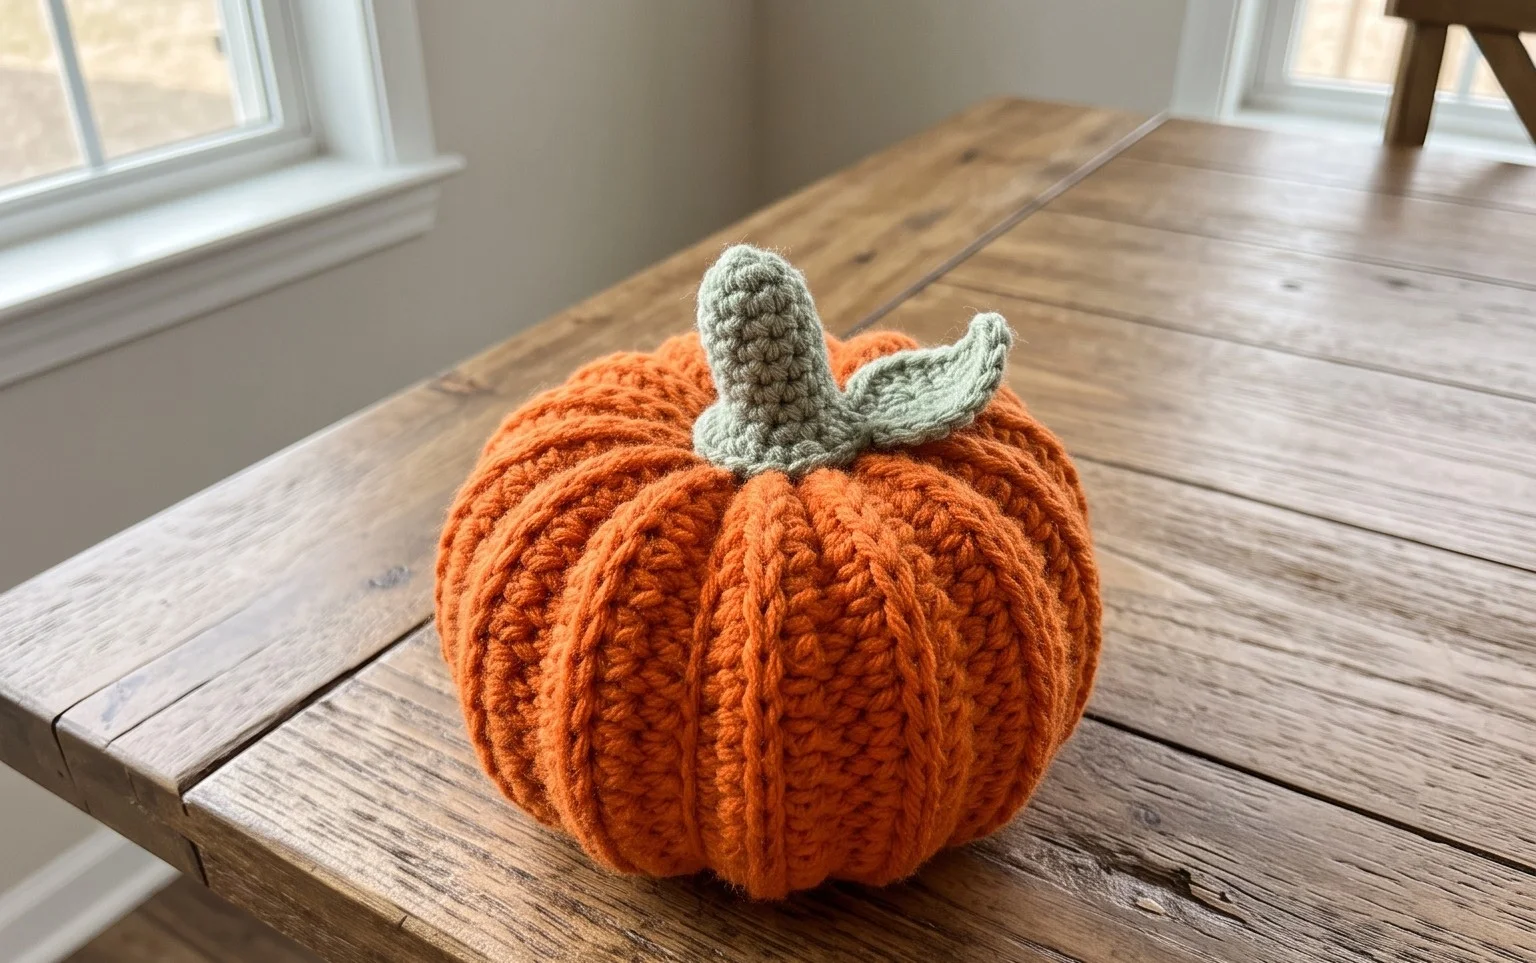
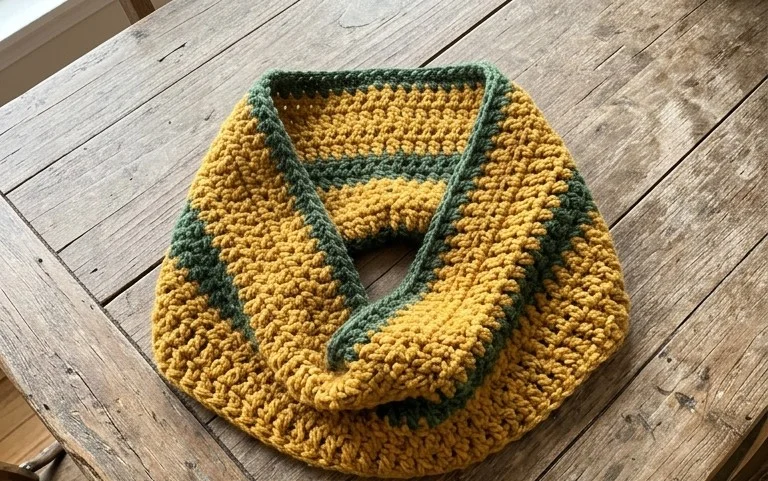
Easy Crochet Fabric Bowl Pattern: Step-by-Step Guide
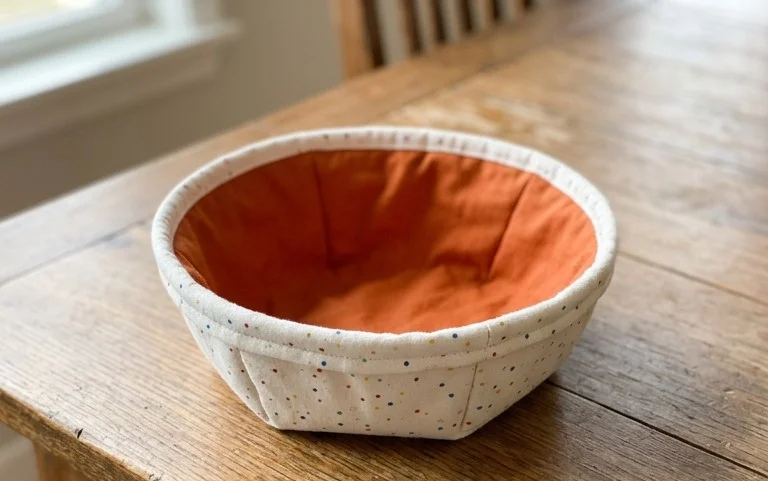
Soft fabric strips give this crochet bowl a sturdy, gently textured finish that looks at home on a desk, dresser, or kitchen counter. Its rounded sides hold small items such as keys, stitch markers, or wrapped sweets, and the fabric makes the finished piece feel substantial in your hands. You can use prepared fabric yarn or cut clean cotton scraps into strips, so it is a useful way to put leftover material to work. The shape comes together with simple single crochet stitches and gradual increases at the base, followed by even rows to build the sides. Beginners can take their time checking each round, while experienced crocheters can enjoy a relaxed project with a practical result. You’ll learn how to keep the base flat, shape the sides, and finish the rim neatly. Make one for your own home or choose a color that suits a handmade gift.
Why You’ll Love This Pattern
A firm cotton fabric and simple back-loop ridges make this dishcloth useful for everyday washing and quick to crochet. The rectangular shape is made in rows, so there are no corners to join or rounds to keep track of. It is a practical first project for learning to count stitches, and one skein of cotton usually provides enough yarn for the cloth with some left over.
The ridged texture gives your fingers an easy way to check that the fabric is facing the right direction, while the single crochet stitches make a sturdy cloth that holds up to regular use. You can finish it in an evening, and the uncomplicated repeat is easy to pick up again after a break.
The ridges made it easy to keep track of my rows, and the finished cloth feels thick without being stiff. I made mine in an afternoon.
— Maya, home crocheter
Pattern Overview & Skill Level
- Skill Level: Beginner. You need to know how to chain and make a single crochet stitch.
- Approximate Time: 2–3 hours, depending on your pace and how often you stop to check your stitch count.
- Construction: A flat rectangle worked back and forth in rows. The first row is worked into the foundation chain; later rows use single crochet through the back loop only.
- Finished Dimensions & Sizing: About 7 inches wide by 7½ inches tall after washing and drying flat. The exact size can vary with yarn, hook, and personal tension.
Materials & Supplies Needed
- Yarn: About 90 yards of worsted-weight cotton yarn, also called medium weight or #4. Use one color, or change colors between rows if you have cotton leftovers.
- Hook Size: 5.0 mm / H-8 crochet hook. Use the hook that gives you a fabric with clear ridges and no large gaps.
- Notions: Tapestry needle for weaving in the yarn ends, scissors, and a ruler or tape measure. A stitch marker is optional for marking the first stitch of a row.
- Substitutions: Choose another 100% cotton yarn in a similar thickness for a cloth that absorbs water well. Cotton blends can also work, but check the yarn label for care instructions. A thinner yarn makes a smaller, lighter cloth; a thicker yarn makes a larger, heavier cloth and may need a larger hook. Recheck the fabric and finished dimensions when changing yarn.
Gauge: 14 single crochet stitches and 16 rows measure about 4 inches square in the pattern stitch. Gauge is a guide rather than a reason to stop if your cloth is a little larger or smaller. Make a small swatch first if matching the finished size matters to you.
Stitch Guide & Abbreviations (US Terms)
- ch: Chain.
- sc: Single crochet. Insert the hook into the stitch, yarn over and pull up a loop, then yarn over and draw through both loops on the hook.
- BLO: Back loop only. Work into the loop farthest from you at the top of the stitch, leaving the front loop unworked. This makes the raised horizontal ridges.
- st / sts: Stitch / stitches.
- turn: Rotate the work so you can crochet back across the row.
The turning chain at the start of each row does not count as a stitch. Make the first single crochet in the first stitch of the row, not in the base of the turning chain.
Step-by-Step Pattern Instructions
Dishcloth
Foundation: Ch 26. Keep the chain relaxed so the bottom edge does not pull tighter than the rows.
Row 1: Sc in the second ch from the hook and in each ch across. Turn. (25 sts)
Rows 2–30: Ch 1, sc in BLO of each stitch across, then turn. The turning chain does not count as a stitch. (25 sts each row)
After Row 30, fasten off, leaving a yarn tail long enough to weave in comfortably. Check that the cloth measures close to 7 by 7½ inches. The ridged rows should run across the width of the cloth, and both side edges should have the same number of stitches.
Finishing
Thread the tail onto a tapestry needle. Weave it through several stitches on the wrong side, change direction, and pass through a few more stitches so it stays secure during washing. Weave in the beginning tail the same way. Trim the ends close to the fabric without cutting into the stitches. If the starting edge looks tight, gently stretch it into shape while the cloth is damp.
Care & Washing Instructions
- Wash cotton in cool or warm water, up to 40°C (104°F), with similar colors; follow the yarn label if it gives different instructions.
- Dry flat to help the cloth keep its rectangular shape, or use a dryer only if the yarn label allows it.
- While damp, smooth the edges and reshape the corners by hand; formal blocking is usually not needed for a dishcloth.
Pro Tips & Common Mistakes to Avoid
- Keep your chains relaxed. A tight foundation chain can make the bottom edge narrower than the rest of the cloth; try a slightly larger hook just for the chain if needed.
- Count 25 stitches on every row. The turning chain does not count, and working into it by mistake can add an extra stitch at the edge.
- Use a stitch marker in the first stitch of a row if you tend to miss the final stitch when turning. Move it up as you finish each row.
- For a wider or taller cloth, add stitches to the foundation chain or work more rows. Each extra chain adds roughly the width of one stitch, and extra rows use more yarn; allow additional yardage before starting a larger version.
Frequently Asked Questions
Can I use acrylic yarn instead of cotton?
You can, but acrylic usually absorbs water differently and may feel less suitable for wiping dishes. Choose yarn that can be washed often, and check its label for washing and drying directions. A different yarn thickness can also change the cloth’s size.
How can I make the dishcloth smaller?
Use fewer foundation chains, keeping an even tension, and work fewer rows for a shorter cloth. The width depends on the number of single crochet stitches across, while the height depends on the number of rows. Use the same yarn and hook if you want to keep the fabric thickness similar.
Is this a good first crochet project?
Yes. It uses only chains and single crochet, and the rows repeat the same stitch pattern. Count the stitches at the end of each row so you can catch an accidental increase or missed edge stitch before it changes the shape.
May I sell dishcloths made from this pattern?
Check the designer’s terms before selling finished pieces, and follow any requirements about credit or use. The yarn label may also include care or labeling guidance for items made with that yarn.
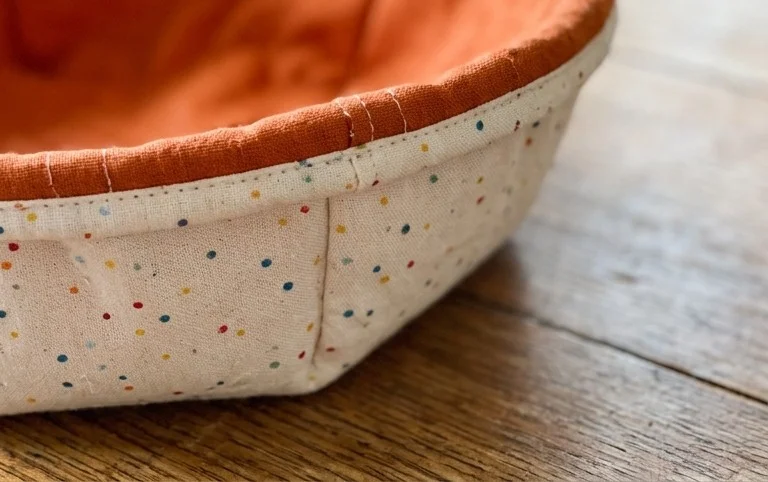
Your finished bowl has a firm base, softly ridged sides, and just enough structure to keep everyday odds and ends gathered in one place. For a simple variation, use a second fabric color for the final rounds to make a contrasting rim. You can also adjust the size by adding rounds to the base before working up the sides. If you make one, share a photo on Pinterest or your favorite social media account; seeing the fabric and color choices is part of the fun. Keep it near your crochet supplies, fill it with keys, or wrap it as a small handmade gift. When you’re ready for another project, explore more free crochet patterns on the blog.