Easy Crochet Christmas Beanie Pattern – Free Tutorial
Soft wool creates a cozy barrier against winter winds, making this ribbed beanie a staple for every holiday outfit. Working with a simple back-loop-only stitch creates a stretchy, dense fabric that mimics high-end boutique accessories. Whether you are a beginner looking to practice clean rows or a veteran maker needing a quick gift, this project offers a satisfying rhythm that turns yarn into a finished accessory in just a few hours. You will learn how to maintain even tension along the long edge and master a hidden seaming technique for a smooth, invisible finish every time.
Why You’ll Love This Pattern
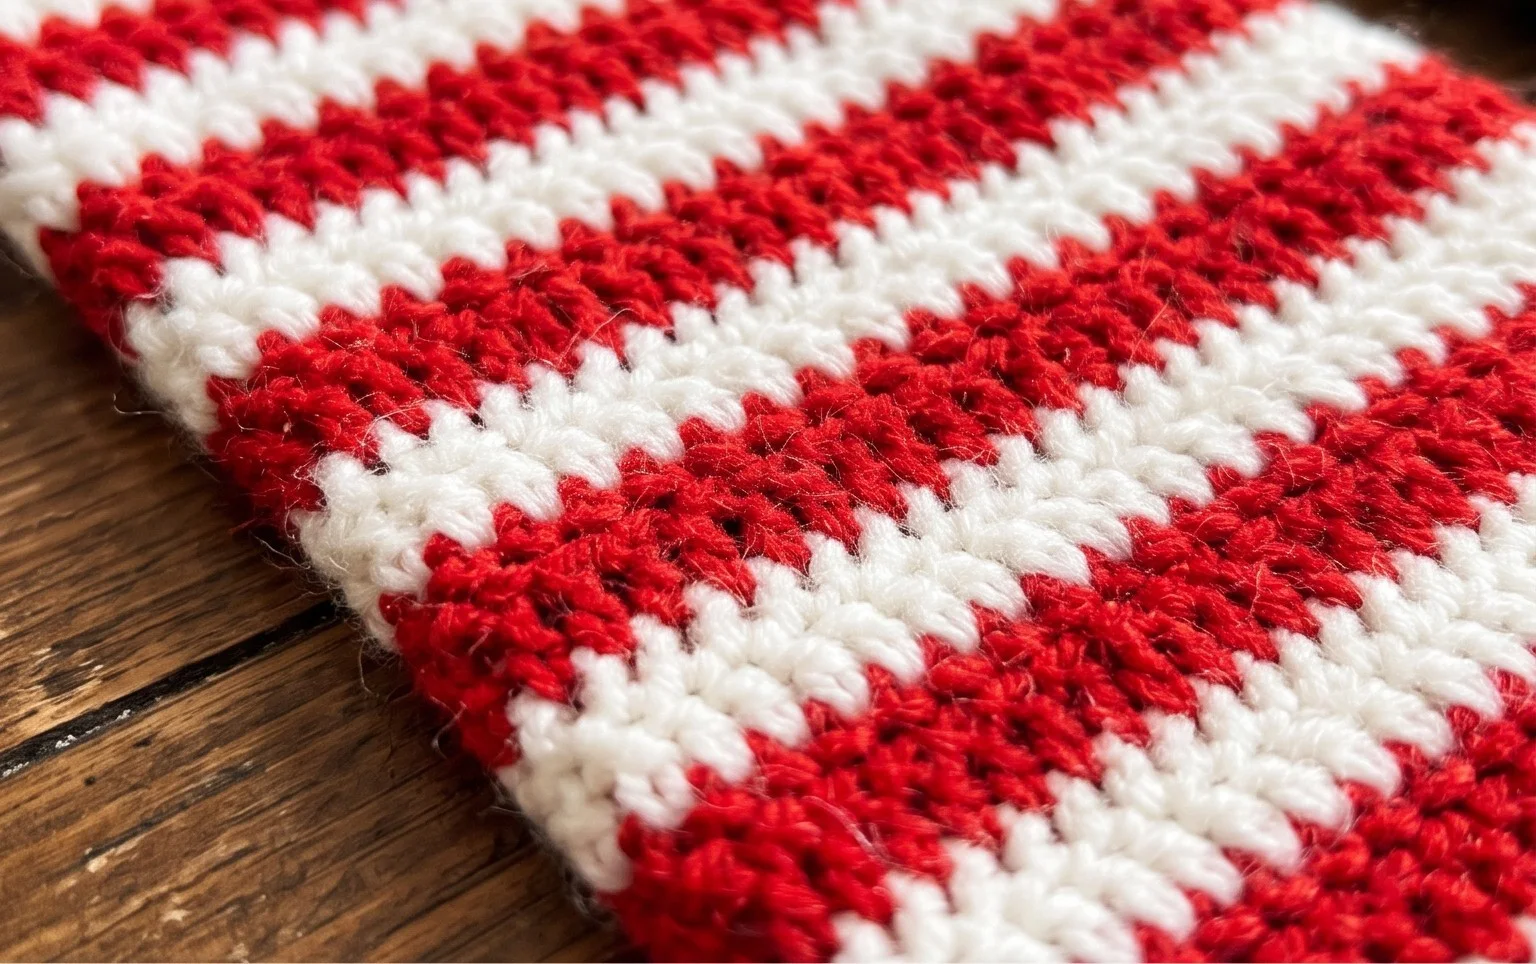
This crochet ribbed beanie pattern utilizes a simple back-loop-only technique that creates a professional, store-bought look with minimal effort. You work the hat as a flat rectangle, which removes the need for complex round counting or difficult decreases at the crown. Because the construction is entirely horizontal, it is an ideal choice for testing out variegated yarns or high-quality wool blends that benefit from a clean, vertical texture. Most makers finish this project in a single evening, making it a reliable choice for last-minute gifts.
I was able to finish this hat in just a few hours. The ribbing is stretchy and fits perfectly without feeling too tight around the forehead.
— Sarah, hobbyist crocheter
Pattern Overview & Skill Level
- Skill Level: Beginner
- Approximate Time: 3 to 4 hours
- Construction: Worked flat in rows, then seamed at the side and gathered at the crown.
- Finished Dimensions & Sizing: Adult medium, approximately 18 inches in circumference (stretches to 22 inches) and 9 inches tall.
Materials & Supplies Needed
- Yarn: Worsted weight (#4), wool or acrylic blend, approximately 200 yards.
- Hook Size: 5.0 mm / H-8.
- Notions: Tapestry needle for seaming, stitch markers, and a tape measure.
- Yarn Substitutions: You can use a cotton blend for a lighter weight, though this will result in less elasticity. If you choose a bulky yarn, reduce your foundation chain by 5 stitches and subtract 10 rows from the total length to compensate.
Stitch Guide & Abbreviations (US Terms)
- ch = chain
- sc = single crochet
- BLO = back loop only (insert hook under the back loop of the stitch instead of both loops to create ridges)
- st/sts = stitch/stitches
- sl st = slip stitch
Step-by-Step Pattern Instructions
Main Body
- Row 1: Ch 41. Sc in the second ch from the hook and in each ch across. Ch 1, turn. (40 sts)
- Row 2: Sc in the BLO of each st across. Ch 1, turn. (40 sts)
- Row 3 through 60: Repeat Row 2 until the piece measures approximately 18 inches in length when slightly stretched.
Assembly and Finishing
- Fold the rectangle in half so the short edges meet.
- Using your tapestry needle and a long tail of yarn, seam the two sides together using a whip stitch or mattress stitch.
- Once seamed, weave your yarn in and out of the stitches along one of the open long edges.
- Pull the yarn tight to gather the fabric into a circle, closing the hole at the top of the hat.
- Secure the yarn with a tight knot and pull the remaining thread tail into the interior of the hat to hide it.
Care & Washing Instructions
- Hand wash in cool water using a mild wool-safe detergent to preserve the elasticity of the fibers.
- Gently squeeze out excess moisture by rolling the hat in a clean towel; never wring or twist the fabric.
- Lay the item flat on a dry towel away from direct heat sources to prevent the yarn from shrinking or losing its shape.
Pro Tips & Common Mistakes to Avoid
Maintain consistent tension throughout every row, as uneven tension will cause the ribbing to look wavy or distorted. When working the BLO rows, be careful not to skip the very last stitch of the row, as this is a common reason for edges becoming uneven or slanted. Use a stitch marker at the end of each row to help you identify the final stitch until you become comfortable identifying it visually. If you wish to adjust the size, add or subtract stitches to the foundation chain, keeping in mind that each change of two stitches will alter the length of the hat by about one inch.
Frequently Asked Questions
Can I use a larger hook for this pattern?
Using a larger hook will result in a drapier fabric with more holes. It is recommended to stick with a 5.0 mm hook to ensure the fabric remains dense enough to provide warmth.
Is this pattern suitable for complete beginners?
Yes, this is an excellent starter project. It requires only the single crochet stitch and the back loop technique, which are the fundamental building blocks for many larger garments.
How do I adjust this hat for a child’s size?
To make the hat smaller, reduce the starting chain count by 6 to 8 stitches and reduce the total number of rows until the fabric matches the circumference of the intended wearer’s head.
Am I allowed to sell hats made from this pattern?
You are welcome to sell items you have handmade using this pattern. Please provide credit to the designer whenever possible.
Your new ribbed beanie is ready to wear or wrap as a thoughtful present for a friend. You might swap the wool blend for a deep red acrylic yarn to match the holiday spirit or scale down the starting chain to fit a child comfortably. Post a photo of your work on Instagram so others can see how your color choices turned out. Browse the rest of the blog for more seasonal accessories that use these same basic, reliable stitches to build your winter wardrobe collection.