Easy Christmas Wreath Ornament: Free Crochet Tutorials
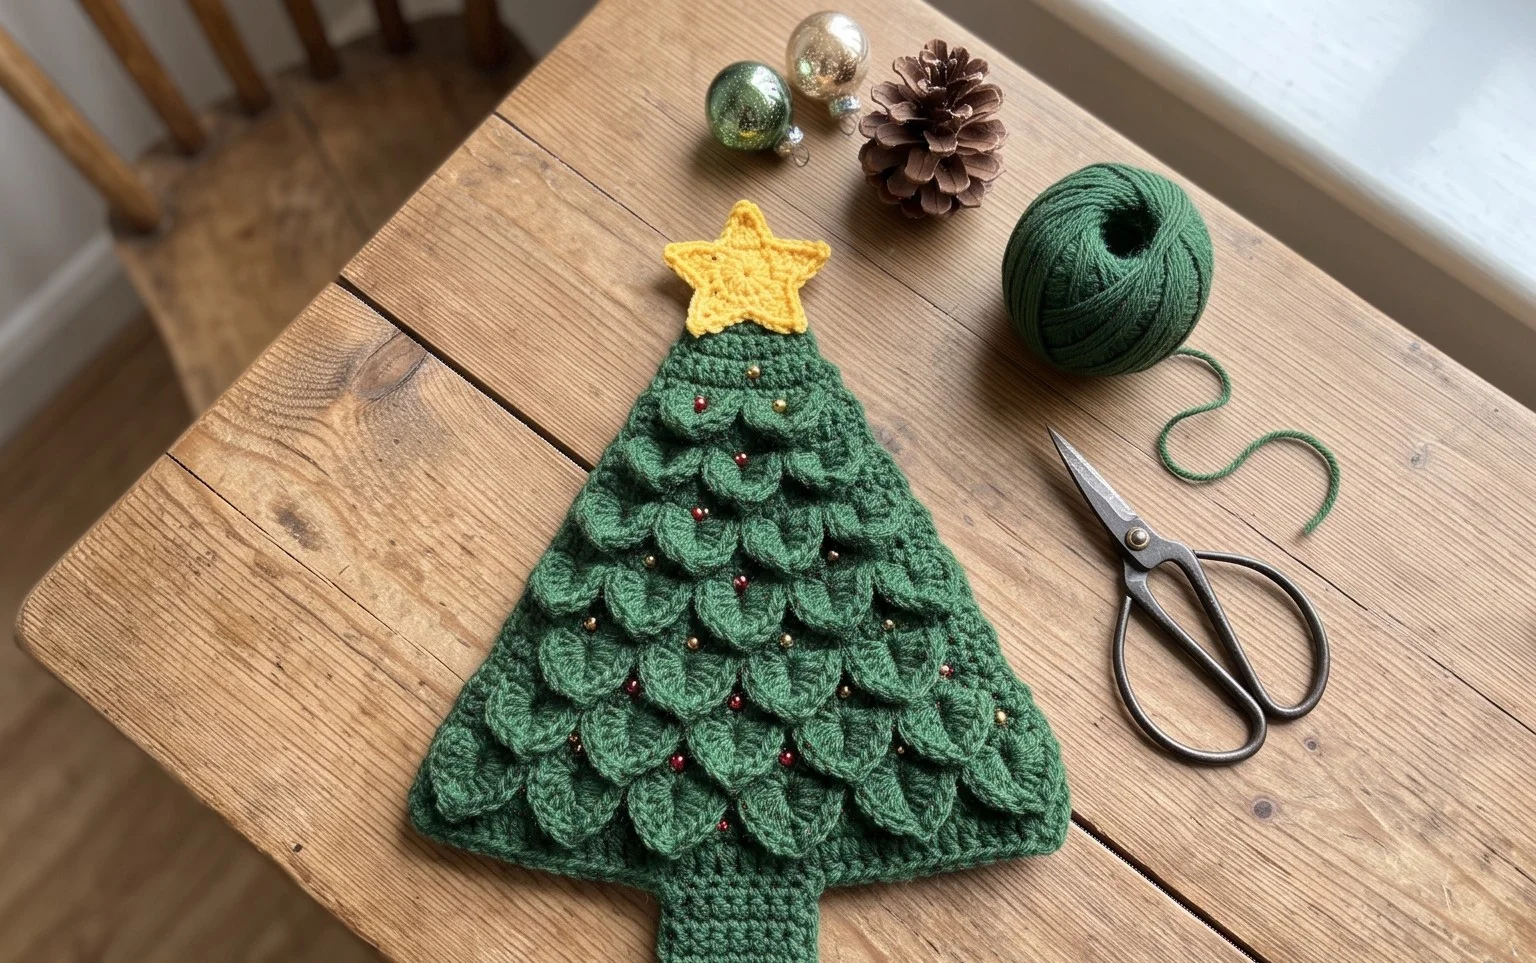
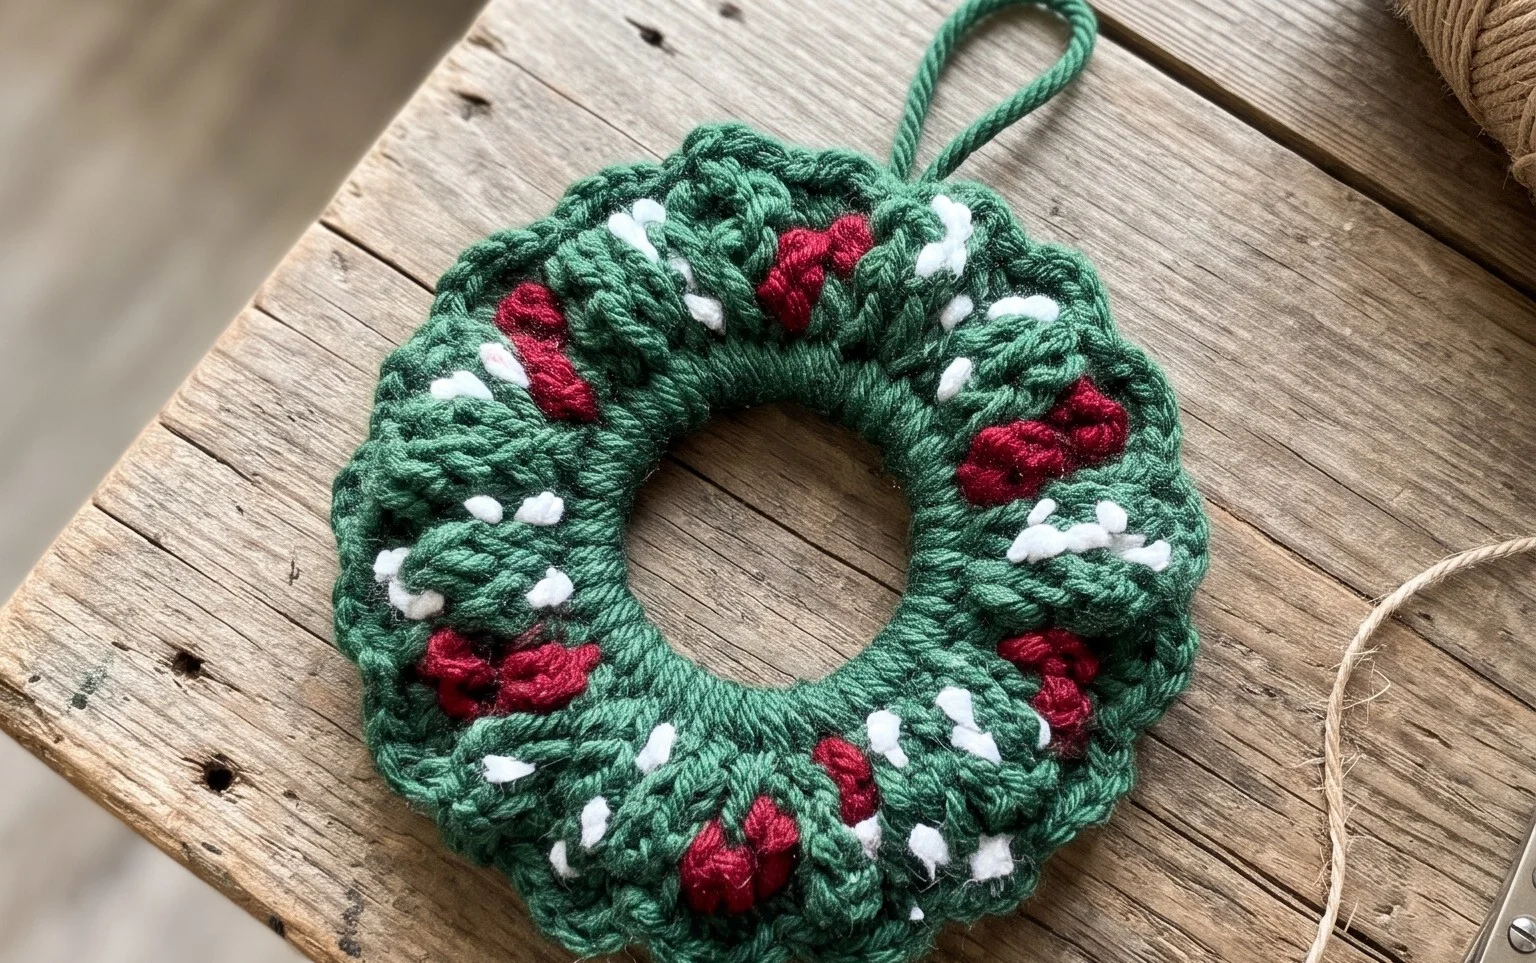
A tiny sprig of evergreen hooked from scrap yarn brings an immediate seasonal warmth to your living room tree. These circular motifs have a soft, squishy texture that makes them satisfying to hold while you work through the repetitive stitches. Beginners will find this a manageable weekend project, while seasoned makers can finish a whole set in a single afternoon to decorate gifts or create garlands. You will learn how to maintain a consistent tension while joining rings of stitches, ensuring every piece remains flat and uniform. This simple process turns a small pile of green yarn into festive holiday cheer.
Why You’ll Love This Pattern
The Classic Crochet Granny Square is the fundamental building block for countless textile projects, from cozy blankets to lightweight summer totes. You will appreciate how quickly the pattern works up once you memorize the sequence of clusters and chain spaces. Because it relies on basic stitches and a repetitive structure, it serves as an excellent way to practice even tension while working in rounds. Using scrap yarn from previous projects makes this a highly economical and stash-busting endeavor, allowing you to experiment with color combinations without committing to large amounts of new material.
I finally learned how to keep my corners square and consistent after trying this specific guide. It is the perfect project to keep in my bag for relaxing downtime during commutes.
— Sarah, intermediate maker
Pattern Overview & Skill Level
- Skill Level: Beginner
- Approximate Time: 30 to 45 minutes per square
- Construction: Working in continuous rounds starting from the center outward
- Finished Dimensions: Approximately 6 inches by 6 inches using medium weight yarn
Materials & Supplies Needed
- Yarn: Worsted weight (#4), 100% acrylic or wool blend, approximately 25 yards per square.
- Hook Size: 5.0 mm (US H-8).
- Notions: Yarn needle for weaving ends, scissors.
- Yarn Substitutions: You can use DK weight yarn for a smaller, more delicate square, though you may need to add additional rounds to reach the target size. Using bulky weight yarn will create a larger, thicker square and requires a larger hook size, such as 6.0 mm.
Stitch Guide & Abbreviations (US Terms)
- ch: chain
- st/sts: stitch/stitches
- sl st: slip stitch
- dc: double crochet
- cluster: a group of 3 dc stitches worked into the same space
- sp: space
Step-by-Step Pattern Instructions
Center and Foundation
- Rnd 1: Ch 4, join with sl st to first ch to form a ring. Ch 3 (counts as first dc here and throughout), 2 dc in ring, ch 2, *3 dc in ring, ch 2; repeat from * twice more. Join with sl st to top of starting ch-3. (12 sts total, 4 ch-2 spaces)
Expanding the Square
- Rnd 2: Sl st into the next 2 sts and into the first ch-2 space. Ch 3, 2 dc in same sp, ch 2, 3 dc in same sp (first corner made). *Ch 1, skip 3 sts, (3 dc, ch 2, 3 dc) in next ch-2 space; repeat from * twice more. Ch 1, join with sl st to top of starting ch-3. (24 sts total, 4 corner ch-2 spaces, 4 side ch-1 spaces)
- Rnd 3: Sl st into the next 2 sts and into the first corner ch-2 space. Ch 3, 2 dc in same sp, ch 2, 3 dc in same sp. *Ch 1, 3 dc in next ch-1 sp, ch 1, (3 dc, ch 2, 3 dc) in next corner ch-2 space; repeat from * twice more. Ch 1, 3 dc in last ch-1 sp, ch 1, join with sl st to top of starting ch-3. (36 sts total)
- Rnd 4: Continue pattern by placing 3 dc in each side ch-1 space and (3 dc, ch 2, 3 dc) in each corner ch-2 space. Join with sl st to top of starting ch-3. (48 sts total)
Finishing
Fasten off your yarn, leaving a 6-inch tail. Use your yarn needle to weave the tail back and forth through the back loops of the stitches on the wrong side of the work to secure it. Trim any excess yarn close to the fabric.
Care & Washing Instructions
- Hand wash in cool water using a mild wool-safe detergent to maintain the integrity of the fibers.
- Lay the square flat on a clean towel to air dry, reshaping it into a perfect square while damp.
- Do not wring or twist the wet square, as this can stretch the stitches and distort the shape.
Pro Tips & Common Mistakes to Avoid
Maintain consistent tension by ensuring your double crochet stitches are not pulled too tightly during the cluster steps. Always use a stitch marker in the top of your starting ch-3 to help identify where to join your round at the end. Weave in your ends as you go if you are using multiple colors, as this prevents a large volume of finishing work at the end. If your square begins to ripple, your hook size may be too large for your chosen yarn, or you may be adding too many chain stitches between clusters.
Frequently Asked Questions
Can I use this pattern for a larger blanket?
Yes, you can simply continue repeating the round instructions, adding more side spaces as the square grows larger, until you reach your desired dimensions.
Is this pattern suitable for complete beginners?
This is an ideal project for beginners because it focuses on the double crochet stitch and introduces the concept of working into chain spaces rather than individual stitch loops.
Can I sell the finished squares I make?
You are welcome to sell finished items created from this pattern, provided you credit the design. Please check your local marketplace guidelines for handmade item regulations.
What is the best way to join these squares?
You can join finished squares using a whip stitch or a single crochet seam for a decorative, raised edge that adds stability to your final project.
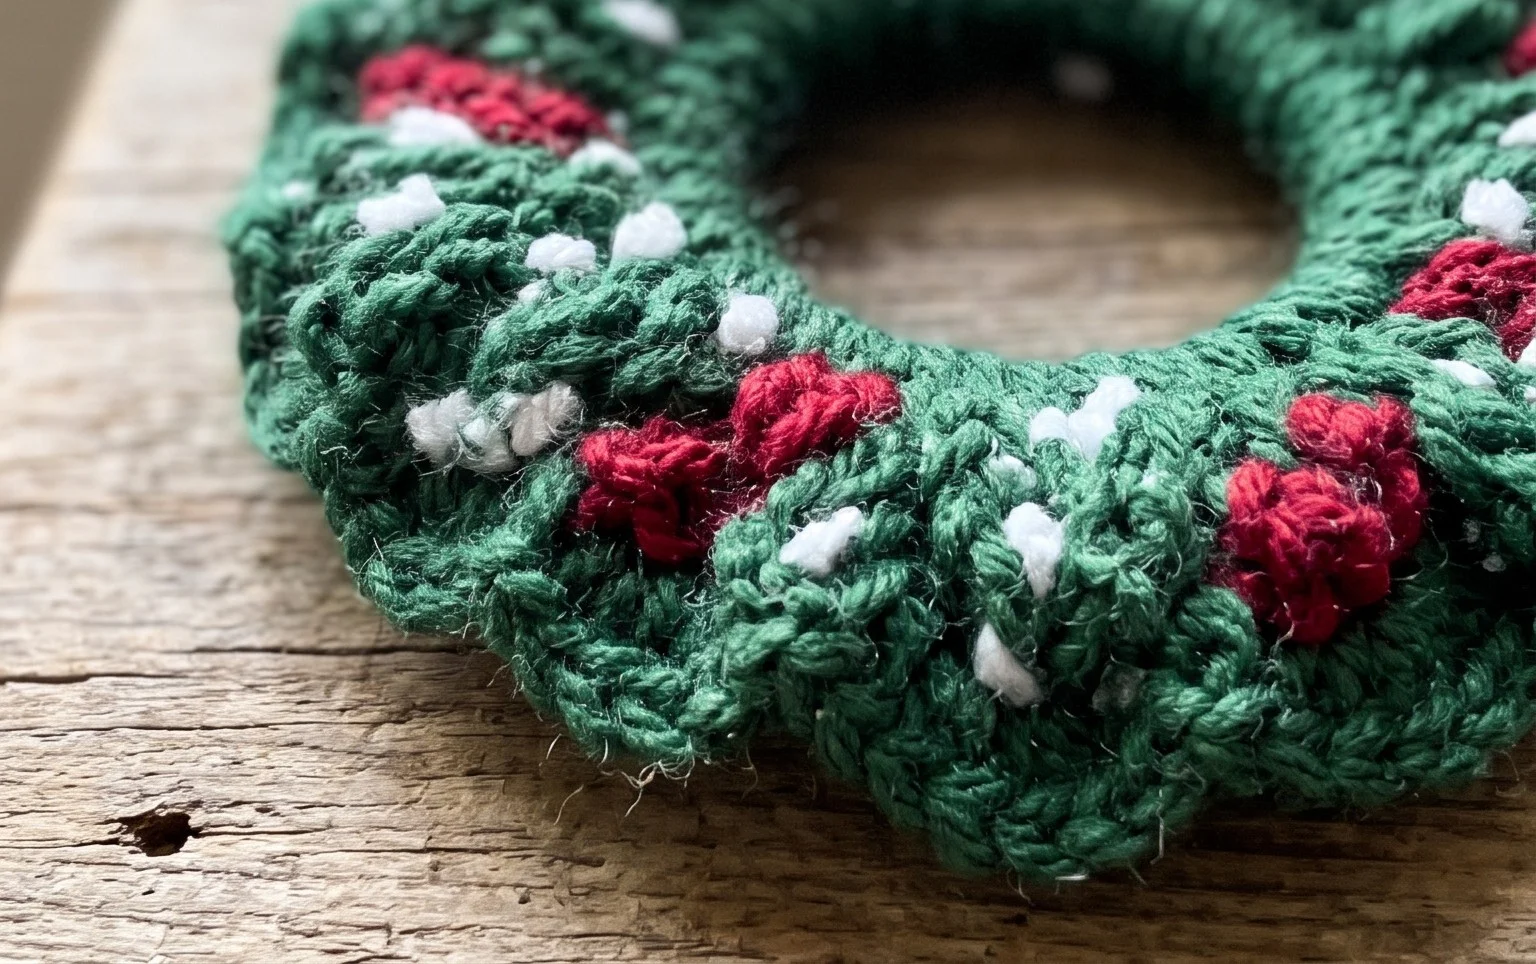
These ornaments transform a handful of yarn scraps into a charming collection of holiday decorations that look wonderful hanging on your tree. Try using a metallic thread held alongside your main yarn for an extra sparkle, or stitch small red beads into the center to mimic winter berries. Posting a picture of your finished work on social media helps other makers see how color changes impact the final look. Visit the rest of the blog for more accessible, seasonal crochet projects to fill your home with handcrafted items.