Easy Winter Headband Crochet Patterns: Free Step-by-Step
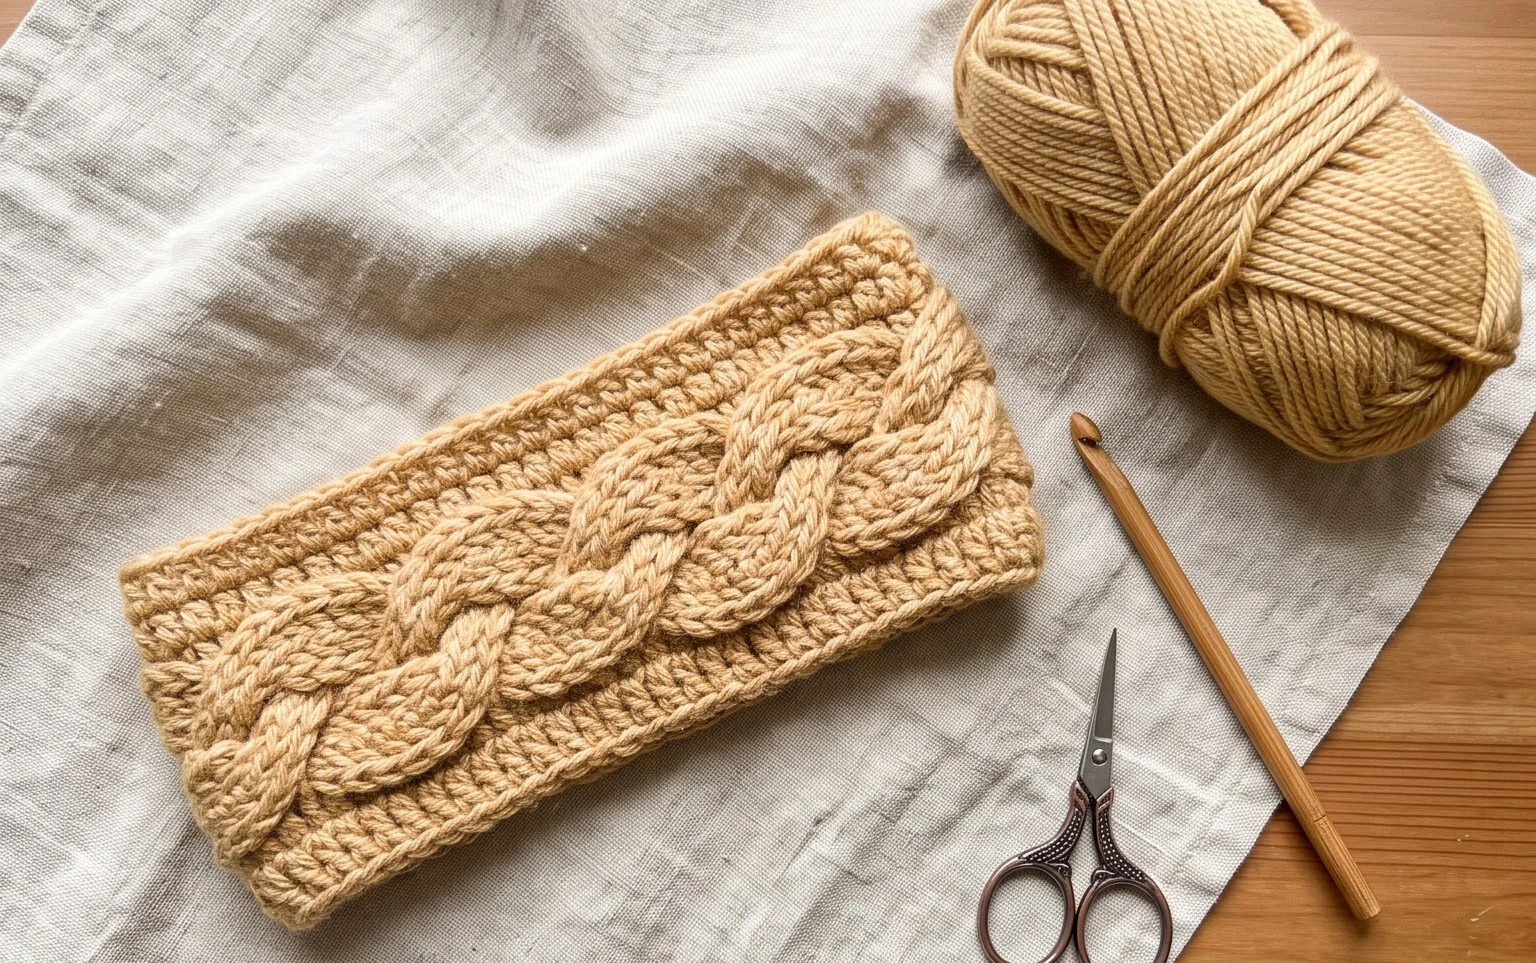
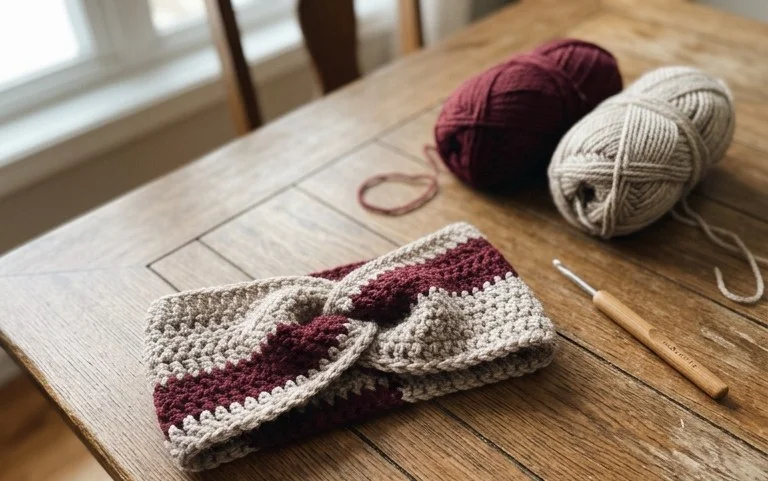
Nothing beats the cozy charm of a handmade accessory when the temperature drops, and these stylish ear warmers are the ultimate solution for chilly days. Whether you are a brand-new beginner or a seasoned pro crafting thoughtful gifts, these projects work up in a flash, offering a plush, textured feel that hugs your head perfectly. You will master essential stitches that create elegant, snug patterns without any complicated fuss. It is incredibly satisfying to transform a single skein of yarn into a winter staple that feels soft, fashionable, and undeniably warm, making every stitch a joy to create.
Why You’ll Love This Pattern
The Classic Crochet Granny Square is the quintessential project for building fundamental skills while maintaining a meditative, rhythmic pace. You work in simple clusters that grow quickly, making it a satisfying choice for both short sessions and long weekend crafting. Because it uses basic stitches and a standard turning method, you can easily memorize the pattern after just one or two rounds. This project is excellent for using up leftover yarn from larger blankets, as you can change colors at the end of every round to create a unique aesthetic.
I managed to finish a whole set of these for a throw blanket in one weekend because the repeat is so easy to remember while watching movies.
— Sarah, hobbyist crocheter
Pattern Overview & Skill Level
- Skill Level: Beginner
- Approximate Time: 30-45 minutes per square
- Construction: Worked in rounds from the center outward, turning after each round to keep the square shape uniform
- Finished Dimensions: Approximately 6 inches by 6 inches when using worsted weight yarn
Materials & Supplies Needed
- Yarn: Worsted weight (#4), wool or acrylic blend, approximately 20 yards per square.
- Hook Size: 5.0 mm (US H-8).
- Notions: Tapestry needle for weaving in ends, scissors, and a measuring tape to ensure consistent sizing.
- Safe yarn substitutions: You may use DK weight (#3) yarn with a 4.0 mm hook for a smaller, delicate square, or bulky weight (#5) yarn with a 6.0 mm hook for a larger, denser texture. Note that changing yarn weight will significantly alter the final dimensions and yardage requirements.
Stitch Guide & Abbreviations (US Terms)
- ch: Chain stitch.
- st: Stitch.
- sl st: Slip stitch.
- dc: Double crochet.
- dc cluster: A group of 3 dc stitches worked into the same space.
- ch-sp: Chain space created by the previous round’s corner or side chains.
Step-by-Step Pattern Instructions
This square begins with a center ring and expands in four-sided rounds. Always turn your work at the end of each round to prevent the square from spiraling.
The Classic Square
- Rnd 1: Start with a magic ring or ch 4 and sl st to the first ch to form a loop. Ch 3 (counts as first dc), work 2 dc into the ring, ch 2. Work a cluster of 3 dc into the ring, ch 2. Repeat this two more times. Sl st to the top of the beginning ch-3 to join. Turn work. (12 dc, 4 ch-2 spaces)
- Rnd 2: Ch 3. In the first corner ch-2 space, work (2 dc, ch 2, 3 dc). Ch 1. In each of the next 3 corner spaces, work (3 dc, ch 2, 3 dc) and ch 1 between corners. Sl st to the top of the beginning ch-3. Turn work. (24 dc, 4 ch-2 spaces, 4 ch-1 spaces)
- Rnd 3: Ch 3. Work 2 dc in the first ch-1 space, ch 1. In the next corner ch-2 space, work (3 dc, ch 2, 3 dc), ch 1. Continue around by working (3 dc) in each ch-1 space and (3 dc, ch 2, 3 dc) in each corner, separated by ch 1. Sl st to the top of the beginning ch-3. Turn work. (36 dc)
- Rnd 4: Continue the pattern of Rnd 3, placing 3 dc in each side ch-1 space and 3 dc, ch 2, 3 dc in each corner. Sl st to join. Fasten off and weave in ends. (48 dc)
Care & Washing Instructions
- Hand wash in cool water using a mild detergent specifically formulated for knit and crochet items.
- Lay the square flat on a clean towel and reshape it to its original square dimensions while damp.
- Avoid using a tumble dryer, as heat can shrink natural fibers and distort the stitch definition.
Pro Tips & Common Mistakes to Avoid
Consistent tension is vital for a flat square; if your piece starts to ripple, you may be working your stitches too loosely or adding too many chains. Always use a stitch marker in the top of your starting chain to easily identify the end of the round. When weaving in your ends, run the yarn through the back loops of the matching color stitches to ensure the repair is invisible. If you want to adjust the size, simply continue the pattern of Rnd 4 for as many rounds as you like, remembering that each subsequent round adds 12 total double crochet stitches to the square.
Frequently Asked Questions
Can I use a different yarn weight for this square?
Yes, you can substitute the yarn weight, but be aware that the final dimensions will change. A lighter weight yarn will result in a smaller square, while a heavier yarn will result in a larger, thicker square.
Why is my square not laying flat?
A rippling square usually indicates that your tension is too loose or you have worked extra stitches into the spaces. Ensure you are following the ch-1 and ch-2 instructions exactly as written to maintain the shape.
Is this pattern suitable for beginners?
This pattern is ideal for beginners as it focuses on the double crochet stitch and introduces the concept of working into chain spaces rather than individual stitch loops.
Can I sell the squares I make from this pattern?
You are welcome to sell finished items made from this pattern, but please credit the original design and use your own photographs to represent your work.
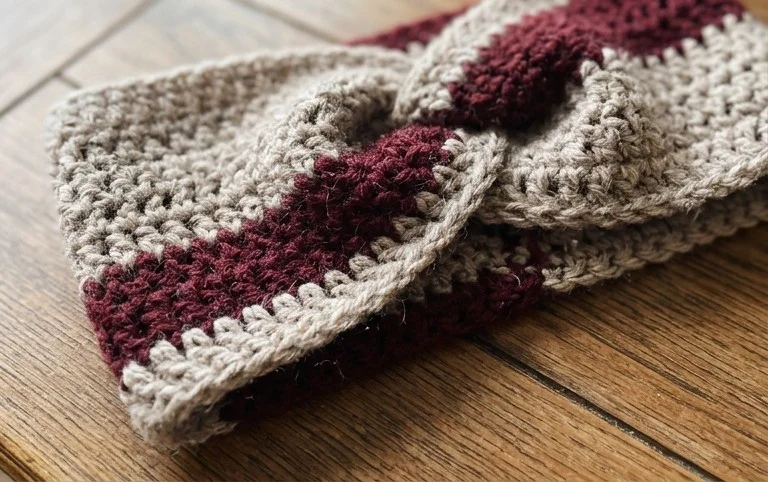
There is truly nothing more satisfying than sliding on your cozy, handmade accessory once the final stitch is secure. Feel free to personalize your project by experimenting with a bulky velvet yarn or adding a charming oversized button for a unique flair. Once you finish your beautiful creation, we would love to see your work, so please share a photo on Pinterest or Instagram! In the meantime, be sure to browse the rest of our blog for more free patterns to inspire your craft.