Easy Climbing Vine Stitch Crochet Pattern for Beginners
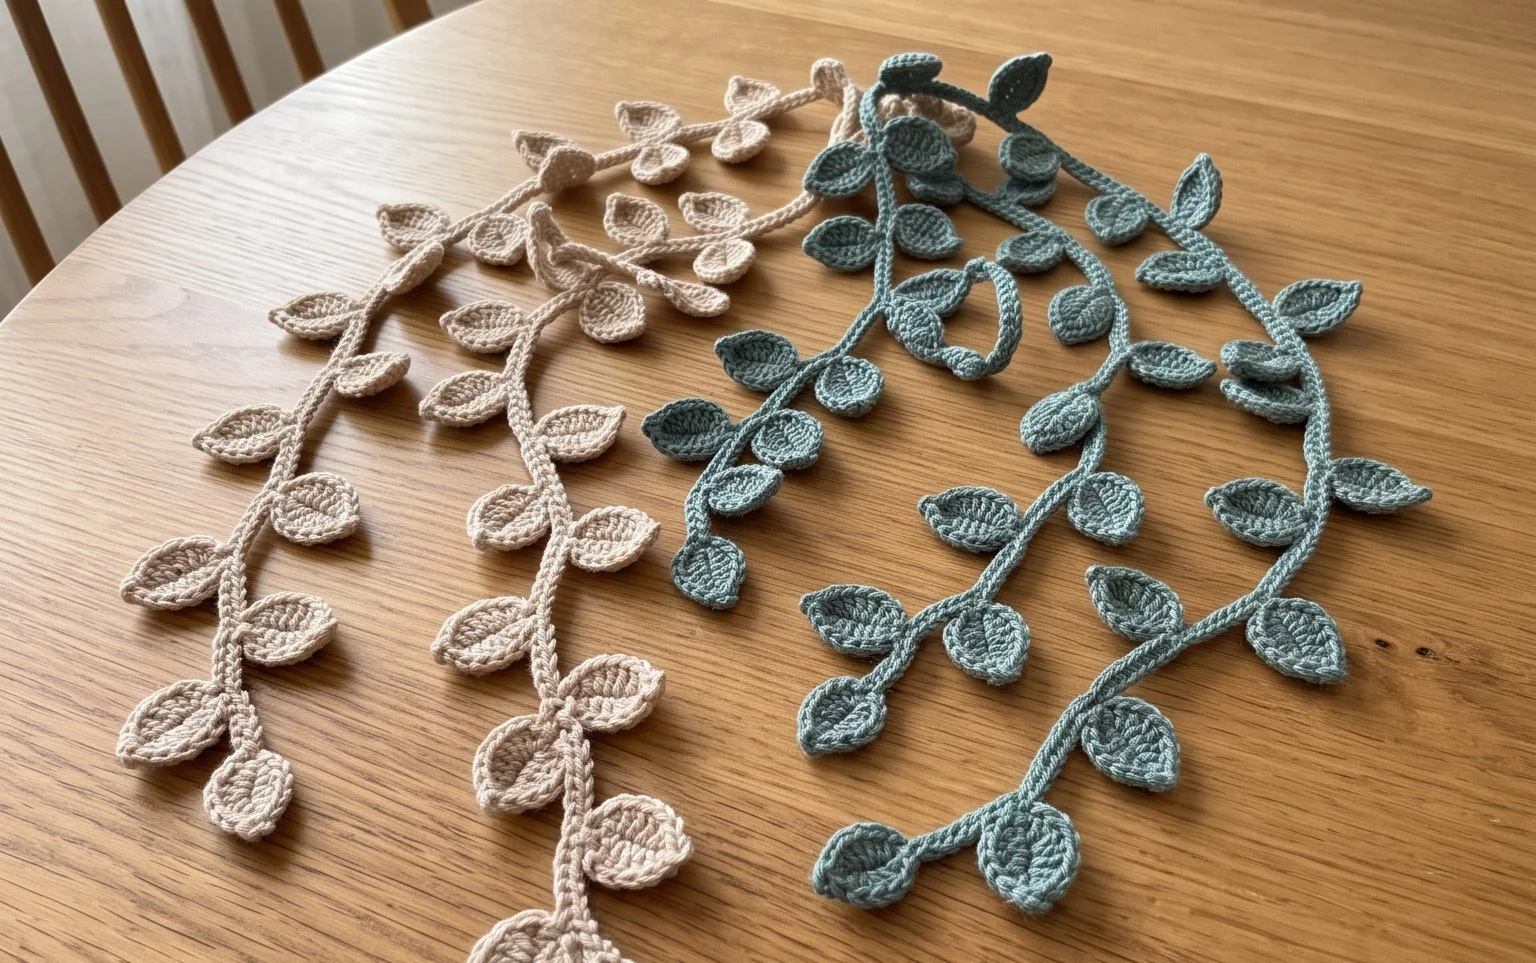
Climbing vine stitches turn basic yarn into a delicate, lacy texture that mimics organic growth, making them a favorite for anyone who loves adding natural elements to their handmade items. This pattern works beautifully for small accessories like drawstring bags or decorative bottle covers because the open spaces show off the structure of your chosen cotton fiber. You will find that the way these stitches twist and turn creates a rhythmic, calming motion as you hook. Working through this project helps you gain confidence with yarn-overs and skipped stitches, resulting in a professional, store-quality finish that makes an impressive gift for friends or family who appreciate handmade quality.
Why This Project Is Worth Making
This simple crochet drawstring pouch uses a sturdy single crochet base and an airy mesh upper section, making it an ideal project for keeping small items organized. You can complete this project in a single afternoon, making it a reliable choice for last-minute gifts. Because it uses only a small amount of worsted weight yarn, it serves as a practical way to use up leftover yarn from larger blankets or garment projects. The drawstring closure ensures that contents remain secure, whether you use it to store notions, jewelry, or small electronic accessories.
I managed to finish this pouch in about two hours while watching television. The instructions were easy to follow and the finished size is perfect for my knitting markers and tapestry needles.
— Sarah, hobbyist maker
Pattern Overview & Skill Level
- Skill Level: Beginner
- Approximate Time: 2 to 3 hours
- Construction: Worked in continuous rounds from the bottom up, transitioning from a flat circle base to a cylindrical body, finished with a mesh stitch pattern and a simple chain drawstring.
- Finished Dimensions: 5 inches diameter, 6 inches tall.
Materials & Supplies Needed
- Yarn: Worsted weight (#4) cotton yarn, approximately 80 yards. Cotton provides the structural integrity needed for a pouch.
- Hook Size: 4.5 mm (US 7) crochet hook to achieve a firm tension that prevents items from slipping through the stitches.
- Notions: One tapestry needle for weaving in ends, one stitch marker to track the beginning of rounds, and a pair of scissors.
- Yarn Substitutions: Acrylic worsted weight yarn can be used for a softer feel, though it may stretch more than cotton over time. Using a heavier yarn will result in a larger pouch, while a lighter yarn will require adjusting your hook size and increasing the number of stitches to maintain the same dimensions.
Stitch Guide & Abbreviations (US Terms)
- ch = chain
- sc = single crochet
- dc = double crochet
- inc = 2 sc in the same stitch
- st/sts = stitch/stitches
- sl st = slip stitch
- MR = magic ring
- sk = skip
- sp = space
- YO = yarn over
Step-by-Step Pattern Instructions
Base
- Rnd 1: Work 6 sc into a MR. (6 sts)
- Rnd 2: Inc in each st around. (12 sts)
- Rnd 3: [Inc, sc in next st] 6 times. (18 sts)
- Rnd 4: [Inc, sc in next 2 sts] 6 times. (24 sts)
- Rnd 5: [Inc, sc in next 3 sts] 6 times. (30 sts)
- Rnd 6: [Inc, sc in next 4 sts] 6 times. (36 sts)
Body
- Rnd 7: Sc in each st around in the back loops only. (36 sts)
- Rnd 8-15: Sc in each st around. (36 sts)
- Rnd 16: [Dc, ch 1, sk 1 st] repeat around. (18 dc, 18 ch-1 sps)
- Rnd 17: Sc in each dc and each ch-1 sp around. (36 sts)
- Rnd 18: Repeat Rnd 16.
- Rnd 19: Sc in each dc and each ch-1 sp around. (36 sts)
- Rnd 20: Sl st in each st around to finish the edge. (36 sts)
Drawstring and Finishing
Create a chain of 80 stitches using the same yarn. Weave the chain in and out through the dc stitches of Rnd 18. Secure the ends with a simple knot or a small decorative bead. Weave in all loose ends on the inside of the pouch using your tapestry needle.
Care & Washing Instructions
- Hand wash the finished pouch in cool water with a mild detergent to preserve the shape of the cotton fibers.
- Lay the item flat on a clean towel to air dry, ensuring it is reshaped while damp.
- Avoid using a tumble dryer, as high heat can cause cotton to shrink or lose its structural firmness.
Pro Tips & Common Mistakes to Avoid
Keep your tension consistent throughout the base rounds to ensure the bottom of the pouch remains flat rather than cupping or rippling. Always place a stitch marker in the first stitch of every round to avoid losing your place, especially when working the continuous rounds of the body. When weaving in your ends, run the yarn tail back and forth through the inside loops of your stitches for at least two inches to ensure it stays secure during use. If you wish to make the pouch larger, add additional rounds to the base by increasing the stitch count by 6 each round, but remember that you will need more than one skein of yarn to account for the increased surface area.
Frequently Asked Questions
Can I use a different weight of yarn for this project?
Yes, you can use DK or bulky yarn. If you use a different weight, you must adjust your hook size to match the yarn label and may need to add or subtract rows to reach your desired size.
Is this project suitable for a complete beginner?
This pattern is perfect for beginners who are comfortable with magic rings and basic increase techniques. The repetitive rounds provide excellent practice for maintaining consistent tension.
How do I keep the base of my pouch perfectly flat?
Ensure you are counting your stitches at the end of every round. If the base starts to bowl, your tension might be too tight. If it ruffles, your tension might be too loose.
May I sell the items I make from this pattern?
You are welcome to sell finished items made from this design. Please credit the pattern designer when listing your items online or at craft markets.
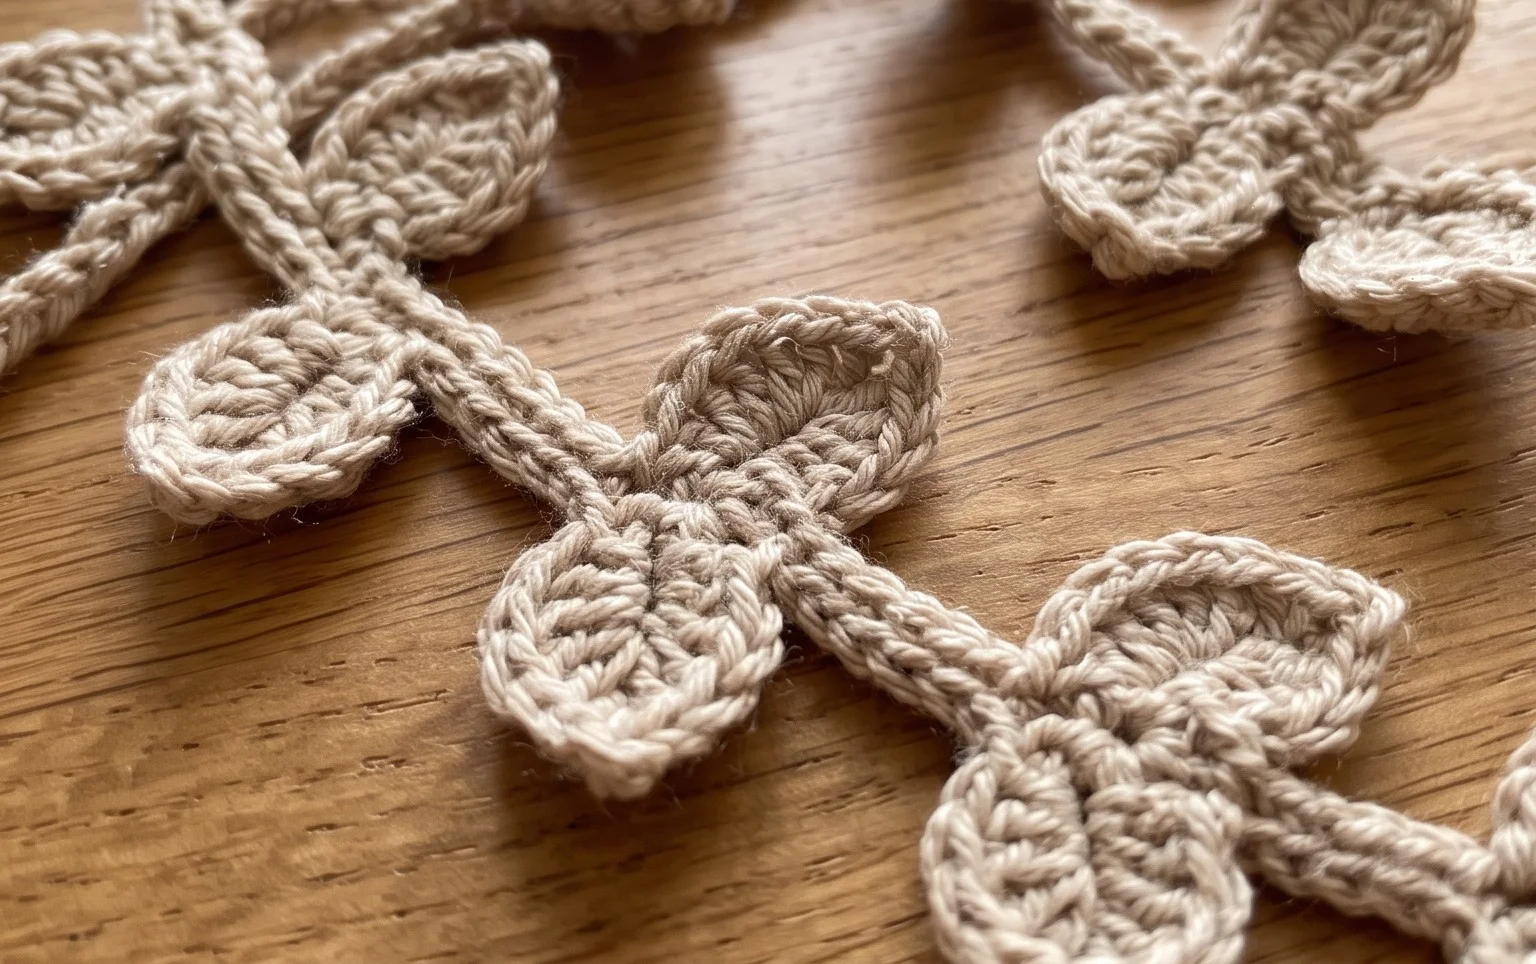
Your finished project shows how simple stitches can transform into a beautiful, botanical design that feels light and professional. You can easily adjust the size of the pouch by adding more rounds to the base or switching to a thicker bamboo yarn for a softer drape. Please share your progress by posting a photo of your work on Instagram or Pinterest to help others get started. If you enjoyed this project, check out my other free crochet tutorials for more ways to practice your skills using worsted weight yarn.