Crochet Braided Scarf: Free Beginner Pattern & Tutorial
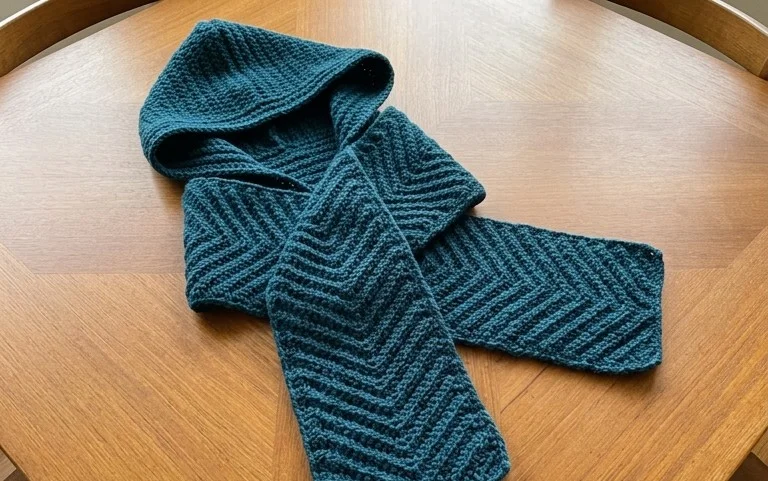
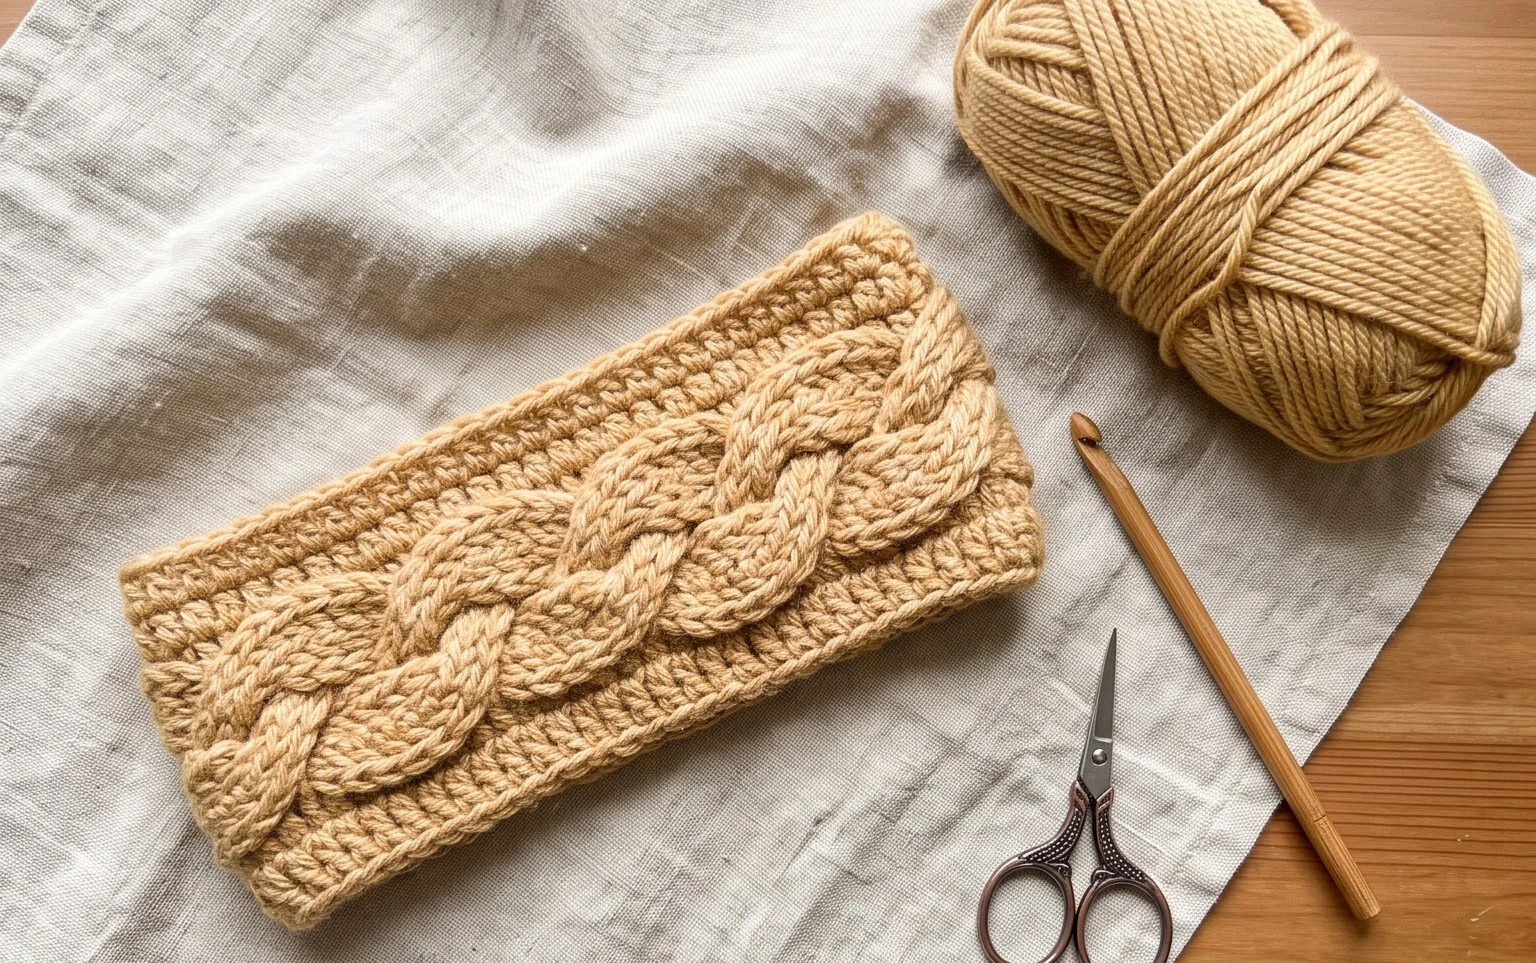
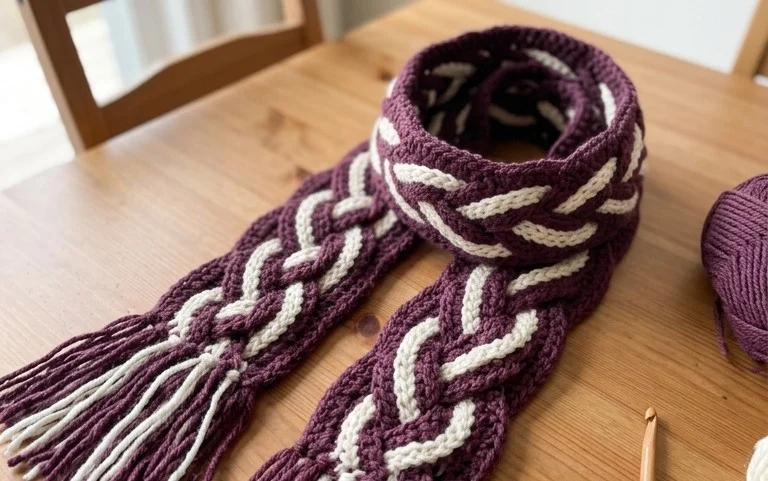
These scarves mimic the look of chunky knit cables by using overlapping panels that interlock to form a thick, heat-trapping weave. The result is a dense fabric that feels substantial against the neck while maintaining a surprising amount of drape. This design suits anyone who enjoys repetitive motion because the structure relies on simple post stitches that build height quickly. You will learn how to create individual long strips before joining them through a series of rhythmic, alternating loops to form the signature twist. It is a rewarding project that transforms basic yarn into a luxurious, warm winter accessory.
Why This Project Is Worth Making
The Classic Crochet Granny Square is the fundamental building block for countless textile projects, from cozy blankets to lightweight summer garments. This project offers a meditative, repetitive rhythm that makes it an excellent choice for crocheters looking to practice consistent tension. You can finish a single square in under twenty minutes, which makes it perfect for stash-busting leftover yarn bits that are too small for larger items. Because the design relies on clusters of double crochet stitches, it creates a balanced, open fabric that drapes well and works up quickly.
I started these to clear out my scrap bin and ended up making an entire lap blanket because the pattern is so easy to memorize for television watching sessions.
— Sarah, hobbyist crafter
Pattern Overview & Skill Level
- Skill Level: Beginner
- Approximate Time: 15–20 minutes per square
- Construction: Worked in joined rounds, starting from the center and expanding outward
- Finished Dimensions: Approximately 5 inches by 5 inches using medium weight yarn
Materials & Supplies Needed
- Yarn: Worsted weight (#4), 100% acrylic or wool blend, approximately 15 yards per square
- Hook Size: 5.0 mm (H-8)
- Notions: Tapestry needle for weaving in ends, sharp scissors
- Yarn Substitutions: Cotton yarn works well for a stiffer square, while baby alpaca creates a softer, drapier finish. Using a lighter weight yarn like DK (#3) will result in a smaller square unless you increase the number of rounds.
Stitch Guide & Abbreviations (US Terms)
- ch = chain
- sl st = slip stitch
- dc = double crochet: yarn over, insert hook into stitch, yarn over and pull up loop, yarn over and pull through two loops, yarn over and pull through remaining two loops.
- dc cluster = 3 double crochet stitches worked into the same space
- sp = space
- st = stitch
Step-by-Step Pattern Instructions
Center and Foundation
- Round 1: Start with a magic ring or ch 4 and sl st to the first ch to form a loop. Ch 3 (counts as first dc), work 2 dc into the ring. Ch 2, 3 dc into ring, ch 2—repeat from * to * two more times. Sl st to the top of the beginning ch-3 to join. (12 dc, 4 ch-2 spaces)
Developing the Square
- Round 2: Sl st into the next 2 sts and into the first ch-2 space. Ch 3, 2 dc in same space, ch 2, 3 dc in same space (this creates the first corner). Ch 1, skip 3 dc, [3 dc, ch 2, 3 dc] in next ch-2 space—repeat from * to * around. Ch 1 and sl st to the top of the beginning ch-3. (24 dc, 4 corner spaces)
- Round 3: Sl st into the next 2 sts and into the corner ch-2 space. Ch 3, 2 dc in same space, ch 2, 3 dc in same space. Ch 1, 3 dc in the next ch-1 space, ch 1. [3 dc, ch 2, 3 dc] in next corner space, ch 1, 3 dc in next ch-1 space, ch 1—repeat from * to * around. Sl st to the top of the beginning ch-3. (36 dc, 8 ch-1 spaces)
- Round 4: Work as for Round 3, increasing the number of dc clusters in the side ch-1 spaces as you move outward. Every corner contains [3 dc, ch 2, 3 dc] and every side space contains a single [3 dc] cluster separated by ch-1. (48 dc)
Finishing
Fasten off your yarn, leaving a 6-inch tail. Use your tapestry needle to weave the yarn tail through the back loops of the stitches on the reverse side of the square to secure it. Trim any excess yarn close to the fabric, being careful not to cut your actual crochet stitches.
Care & Washing Instructions
- Hand wash in cool water with a mild wool-safe detergent to preserve fiber integrity.
- Lay the square flat on a clean towel to air dry, reshaping it into a perfect square while damp.
- Avoid using high-heat tumble drying, as this can cause acrylic fibers to melt or natural fibers to felt and shrink.
Pro Tips & Common Mistakes to Avoid
- Maintain consistent tension by ensuring your yarn feed hand keeps an even grip on the strand throughout the round.
- Place a stitch marker in the top of your beginning ch-3 on every round so you do not accidentally lose your place when joining.
- Weave in your ends as you go if you are making multiple squares, as this prevents an overwhelming backlog of finishing work at the end of the project.
- You can adjust the size of the square by adding or subtracting rounds, but note that each additional round will require approximately 20% more yarn than the previous one.
Frequently Asked Questions
Can I use a different hook size than recommended?
Yes, changing your hook size will change the gauge of your square. A larger hook creates a looser, lacier fabric, while a smaller hook creates a dense, stiff square.
How do I join these squares together into a blanket?
The most common methods include whip stitching the back loops together or using a slip stitch join through the front loops of adjacent squares.
Is it okay for a beginner to use variegated yarn for this pattern?
Variegated yarn works well for granny squares, but be aware that the color transitions will create a busy, striped effect that may hide the individual stitch definition.
May I sell the items I create using this pattern?
Please check the original designer terms associated with the pattern source. Generally, most designers allow the sale of small-batch finished items, provided you credit the pattern author.
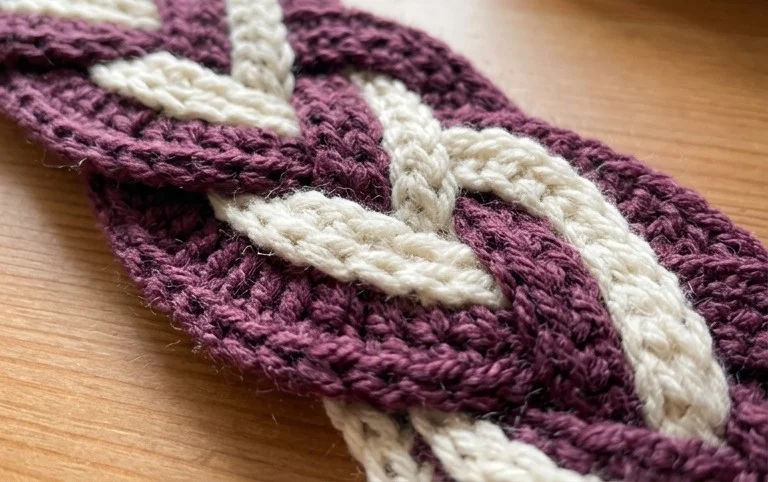
A finished braided scarf provides a thick layer of warmth that holds up well against cold winds during the winter months. You can experiment with variegated wool to give the intertwined sections more visual depth or use a solid color to highlight the twisted texture of the stitches. Upload a photo of your project to social media to show how your colors turned out. Feel free to browse through the rest of the blog for more winter accessory ideas and additional free patterns that use similar techniques.