Little Star Crochet Pattern: Easy Free Coaster Tutorial
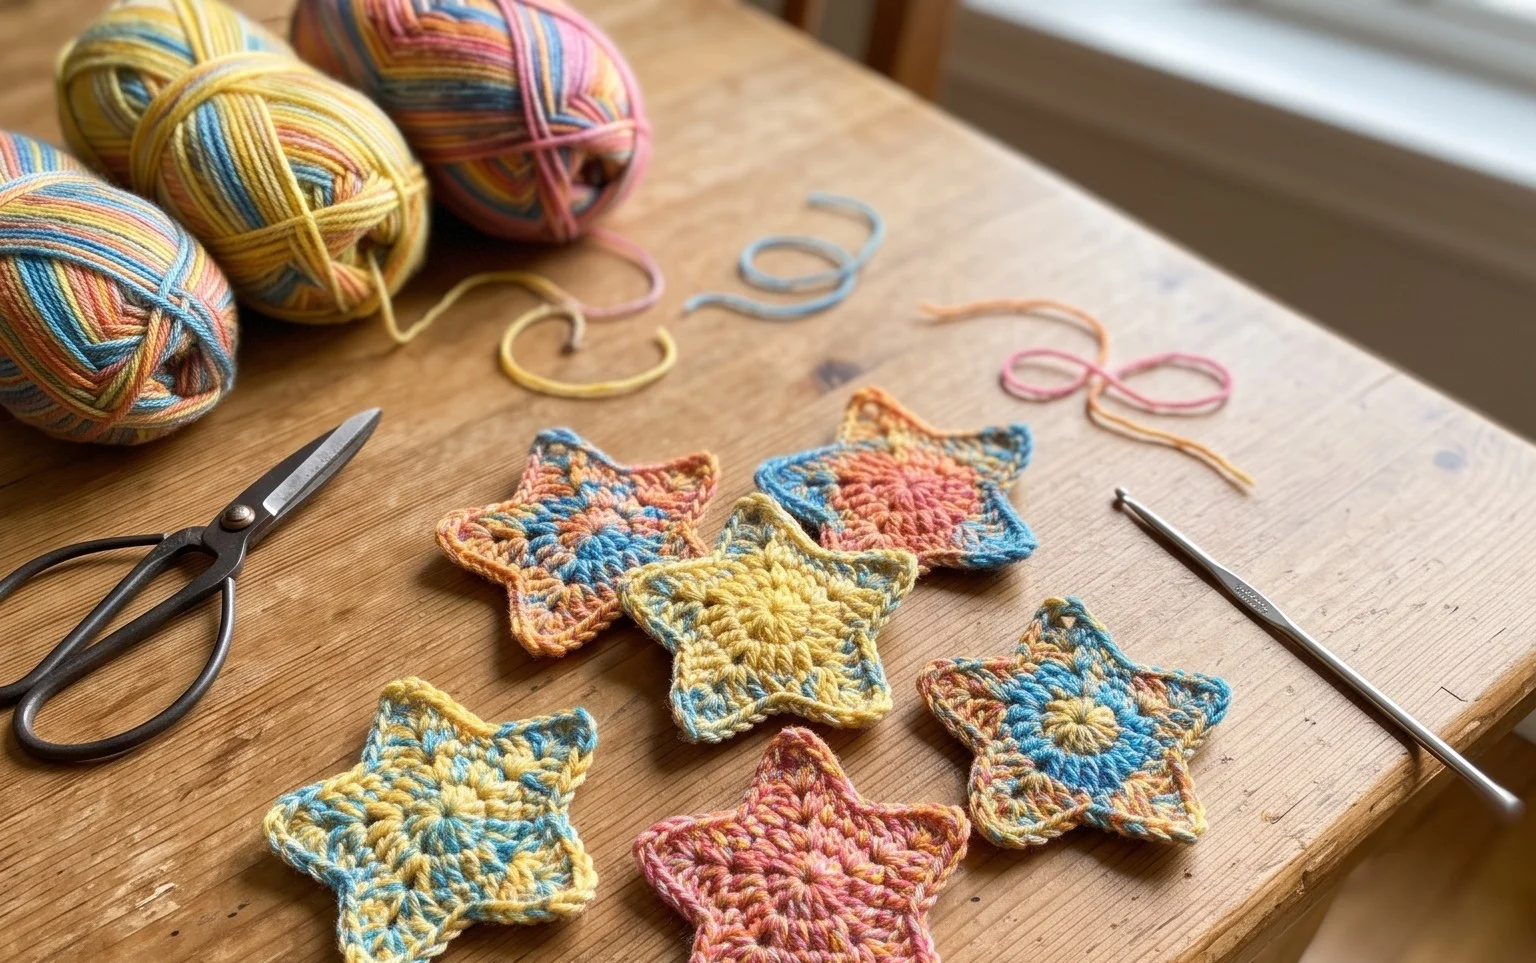
These cotton coasters sit flat on your table, holding their shape through morning coffee and evening tea without curling at the edges. Each star-shaped piece feels firm and sturdy in your hand because of the dense stitching method used throughout the construction. Beginners appreciate this project for the repetitive, rhythmic nature of the round-by-round growth that builds confidence with every completed stitch. You will master the process of working from a small center ring outward to create a functional household accessory that protects your wood surfaces from heat. It is a productive way to clear out small leftover yarn scraps while creating something practical for your home.
Why You’ll Love This Pattern
This beginner-friendly crochet coaster pattern uses a simple, repetitive stitch pattern that makes it ideal for practicing tension control. Because each coaster works up in under 30 minutes, it serves as a perfect project for utilizing small amounts of leftover cotton yarn. The resulting fabric is dense and absorbent, providing excellent protection for wooden surfaces against condensation from cold glasses or heat from mugs. You can easily scale this pattern up by adding more rounds to create a matching placemat or table centerpiece.
I managed to crochet a full set of four coasters in one afternoon while watching a movie. The instructions are very clear and the final shape lays perfectly flat without curling at the edges.
— Sarah, hobbyist crocheter
Pattern Overview & Skill Level
- Skill Level: Beginner
- Approximate Time: 20-30 minutes per coaster
- Construction: Worked in joined rounds, starting from a center ring and expanding outward to create a flat circular base.
- Finished Dimensions: Approximately 4 inches in diameter
Materials & Supplies Needed
- Yarn: Worsted weight (#4) 100% cotton yarn. Cotton is preferred over acrylic for this project because it is heat-resistant and absorbent. You will need approximately 15-20 yards per coaster.
- Hook Size: 5.0 mm (H-8) crochet hook to achieve a tight, sturdy gauge.
- Notions needed: Tapestry needle for weaving in ends and a pair of sharp scissors.
- Safe yarn substitutions: You may use a linen blend or a heavy-weight bamboo cotton, though these may result in a slightly thinner or more drapey finished piece. Avoid 100% wool for coasters as it can felt if exposed to hot, wet mugs repeatedly.
Stitch Guide & Abbreviations (US Terms)
- ch = chain
- sc = single crochet
- dc = double crochet
- sl st = slip stitch
- st(s) = stitch(es)
- inc = increase (work 2 dc in the same stitch)
- MR = magic ring
Step-by-Step Pattern Instructions
Work all rounds in joined circles. At the end of each round, sl st into the top of the first dc to close the round. Ch 2 at the start of each round; this does not count as a stitch.
Coaster Body
- Rnd 1: Start with a MR. Ch 2, work 12 dc into the ring. Join with a sl st to the first dc. (12 sts)
- Rnd 2: Ch 2, inc in every st around. Join with a sl st to the first dc. (24 sts)
- Rnd 3: Ch 2, *1 dc in next st, inc in next st; repeat from * around. Join with a sl st to the first dc. (36 sts)
- Rnd 4: Ch 2, *1 dc in each of next 2 sts, inc in next st; repeat from * around. Join with a sl st to the first dc. (48 sts)
Finishing
After completing Rnd 4, fasten off leaving a 6-inch tail. Pull the yarn through the final loop to secure. Use a tapestry needle to weave the tail through the back loops of the final round to hide it securely within the stitches. Pull the center MR tail tight to close the hole completely, then weave in that end on the wrong side of the coaster.
Care & Washing Instructions
- Machine wash on a gentle cycle in cold water using a mild detergent.
- Lay the coasters flat on a towel to air dry to maintain their circular shape.
- If the coasters become distorted from use, dampen them slightly and press under a heavy book or use a steam iron on a low setting to block them back into a flat circle.
Pro Tips & Common Mistakes to Avoid
Maintain consistent tension throughout the project to ensure the coaster remains flat. If your coaster begins to cup like a bowl, your tension is too tight; try going up a hook size. If the edges become wavy, your tension is too loose or you have too many stitches. To prevent visible gaps at the seams, always pull your slip stitch join tight after finishing each round. If you wish to make these larger for mugs or bowls, simply continue the pattern of increasing by 12 stitches per round—for example, Rnd 5 would be 1 dc in each of next 3 sts, inc in next st.
Frequently Asked Questions
Can I use a different weight of yarn for this pattern?
Yes, but changing the yarn weight will change the final size. Using a DK weight yarn with a smaller hook will result in a smaller coaster, while using a bulky weight yarn will create a larger, thicker pad.
Is this project suitable for someone who has never crocheted before?
Absolutely. This pattern utilizes only basic stitches and circular construction, making it an excellent exercise for learning how to increase stitches evenly and join rounds correctly.
How do I keep my edges from curling?
Curling usually occurs if your stitch count is incorrect or if the stitches are worked too tightly. Always double-check that you have increased at the correct intervals and verify that your stitch count matches the totals provided for each round.
May I sell the coasters I make using this pattern?
You are welcome to sell finished items made from this design. Please credit the pattern origin if selling online, but do not reproduce or distribute the written pattern itself.
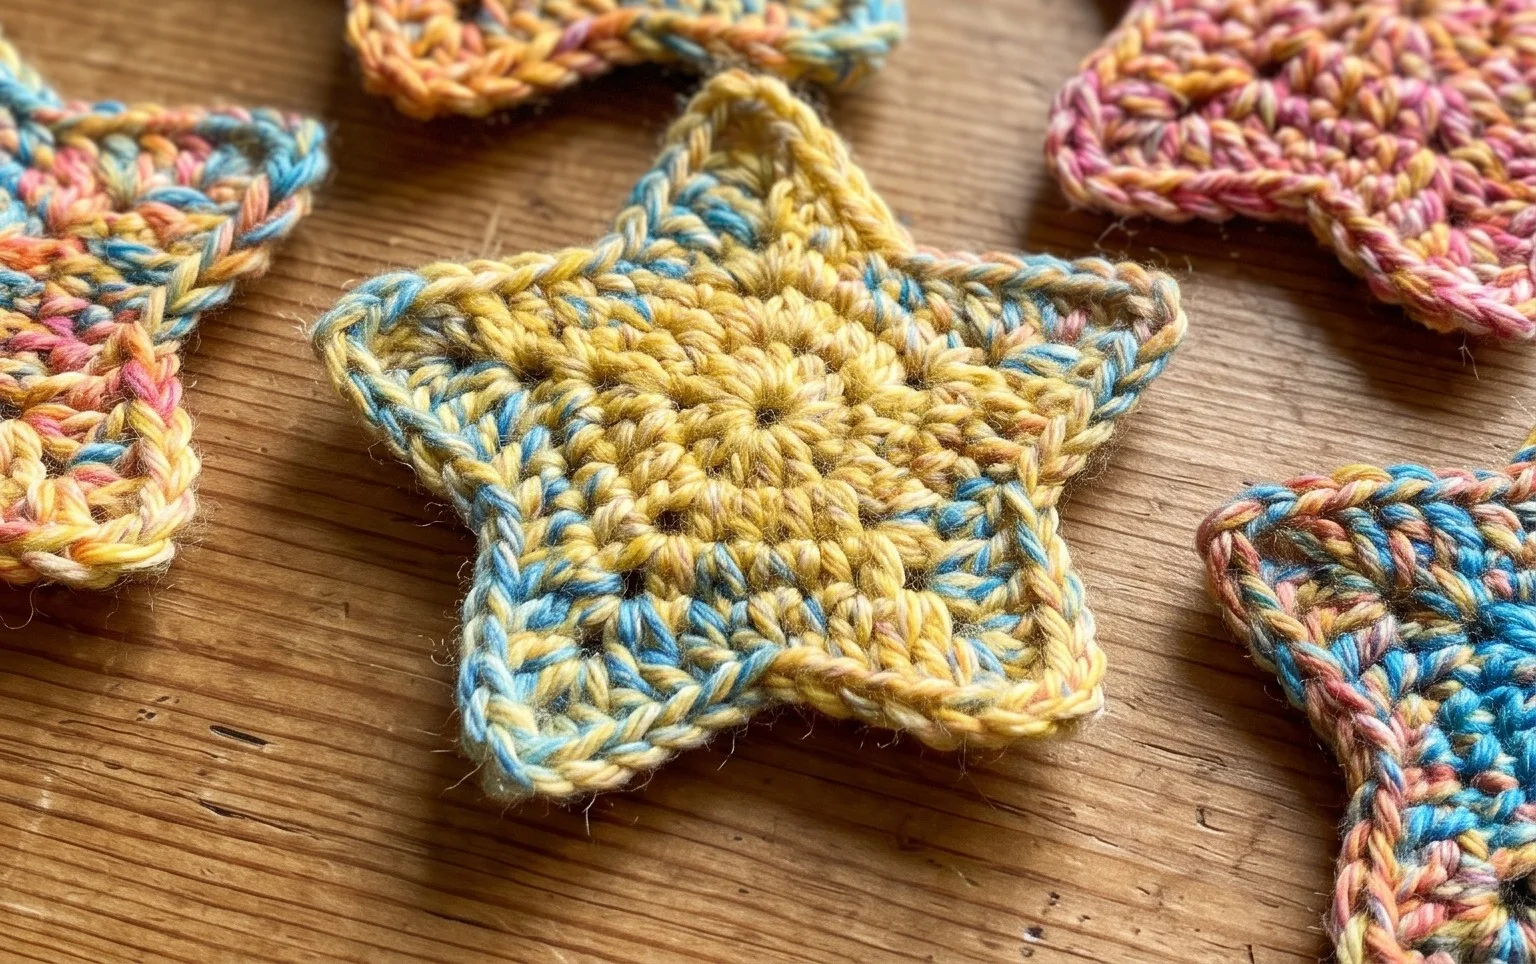
Seeing your handmade stars finished and ready for the coffee table gives a real sense of accomplishment. Try working these in a variegated yarn to give them a different look or use a thicker cord for a larger decorative wall hanging. Tag your photos on social media so others can see how your color choices turned out. You can find more free patterns in our archive to keep your needles busy with new projects throughout the week.